Print the instruction card! Making Bread in a Wonder Oven
I love my wonder ovens, I keep two sets of them handy for everyday use and I currently have six other sets put away for our preps (for their usefulness if we didn’t have power). They’re essential, in my opinion, in being able to cook if the power is out because they drastically reduce the amount of cooking fuel which is needed if solar cooking isn’t an option. At the same time, they’re great to use in every day life to cut down on heating up the kitchen, keep things frozen or cold (think picnics and getting frozen items home from the store in the summertime) and as a non-electric slow cooker.
Definition of a Wonder Oven (also called a Wonder Box):
A Wonder Oven is a heat retention cooker. Due to two “bean bag” type pillows which are filled with styrofoam beads, it holds whatever temperature goes into it for many hours.
The insulating properties of the Wonder Oven means it can keep food at a high cooking temperature for hours, or inversely keeps cold foods cold and frozen foods frozen. This means that you use a fraction of the energy/fuel that you normally would’ve needed to cook or possibly save frozen items from being wasted in a power outage!
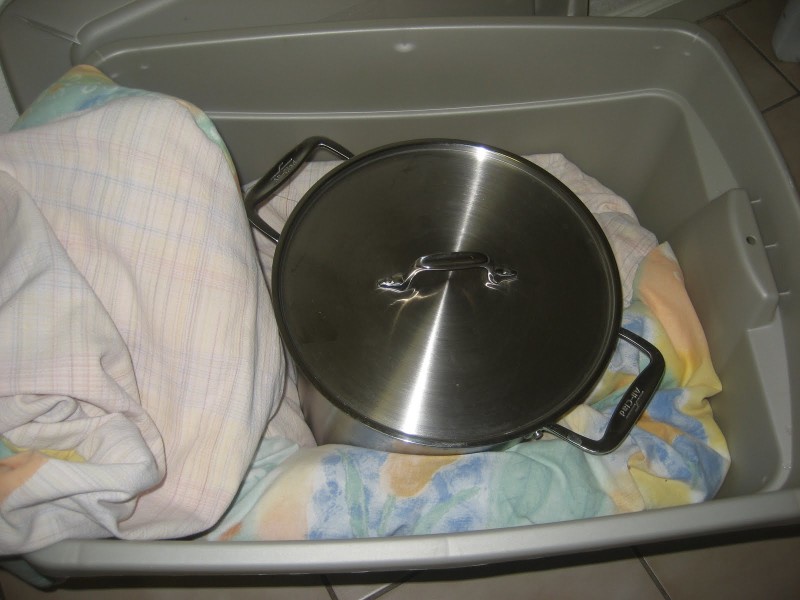
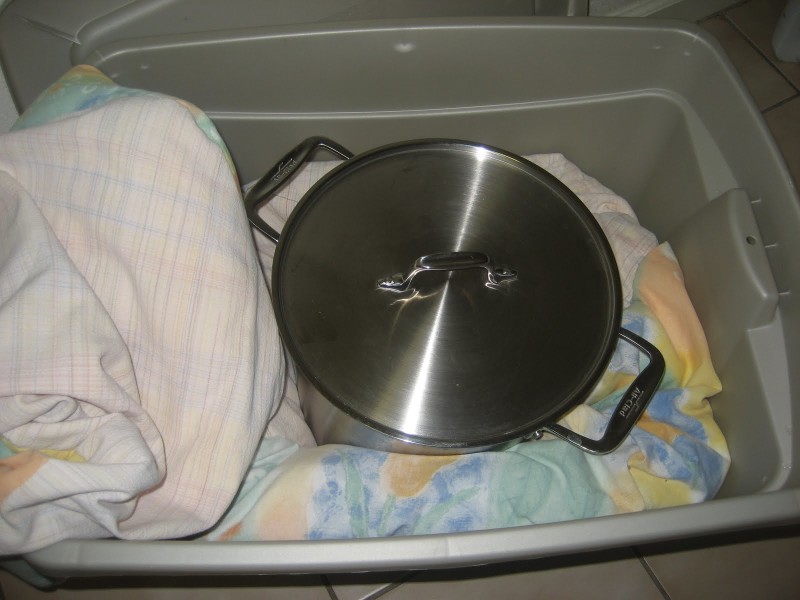
Each wonder oven has two pillows — one that’s larger which fits under the pot and one that’s smaller that fits over it. The pillows (mine are much more loosely filled than some other styles of Wonder Oven Pillows, some are able to stand on their own without a container) are used inside an 18 gallon plastic container in order to keep them snuggly surrounding the pot I’m cooking with.
Getting One for Your Preps
There are two ways to add this wonderful tool to your preps: sew one for yourself, or order one already made.
To make one for yourself you can sew the pillows using this pattern (I actually made mine from some old table cloths) or buy them.
Update 1/30/16: Coming soon! My Food Storage Cookbook will be offering a number of ways you can get a Wonder Oven at a DIY discounted price (with a number of options from “do it completely yourself” to delivered partially completed to make one yourself). I’ll even arrange to have the beads shipped to you! Additionally, there will be a convenience priced option (for those who’d rather not mess with the beads at all) where you can buy one completely finished if that’s what you prefer. Keep an eye on new posts!
Also, here’s a printable quick cooking guide I’ve put together which includes the basic rules and “how-to’s”!
(Click the link below)
I use my wonder oven all the time. I make bread in it as well as many other things. With two wonder ovens, the other night I cooked chicken in one and some potatoes in the other for dinner. I left them all day to cook and never had to worry about burning. One of the things I love best about it is the food is ready to go when you are and it never burns!
Here’s a list of some of the things you can make using a wonder oven which you’ll find here on the blog (visit this archive to find all the recipes):
- Bread
- Soups
- Any dish requiring a simmer time
- Whole grain cereals (Steel Cut Oats)
- Tamales
- Lasagna
- Small cuts of meat
- Rice/ Grains
- Beans
- Yogurt
- Muffins
- Quiche
In this post I’ll be demonstrating how to make some of the most excellent bread in your Wonder Oven. I think you’ll agree, it’s probably the most moist bread you’ve ever tasted! Plus, kids love it because it bakes with out any crusts. From a preparedness perspective, I love it because knowing this method (and having the tools) means I can make bread for my family even if my sun oven isn’t operational due to cloudy skies. This without using any more fuel than is needed to bring a pot to boil for 10 minutes.
Another reason I love it? Food can be left for hours “baking” without any worry of it burning. The bread made below was baked (or more appropriately “steamed”) for 6 hours. At a minimum, it takes 2 hours to bake, but I’d had a very busy day this particular day and didn’t have time to pull it out of the Wonder Oven until later in the evening. Still, I ended up with perfect bread.
Bread Containers
There are a couple of containers you can choose from in order to bake bread in your Wonder Oven.
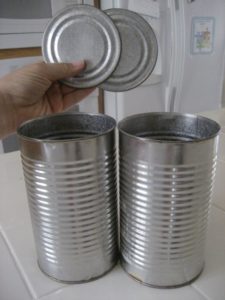
The first is using large 46 oz juice cans. I’ve found that due to their tendancy to rust I have to replace them fairly often. Another disadvantage is that they are very light weight which means that you have to be ready to secure the cans so that they don’t tip over in the boiling water. Using juice cans turns out nice rounded loaves which when sliced are about the size of a hamburger bun. The advantage to using the cans is that you can get started making bread without purchasing anything more than a couple large cans of juice.
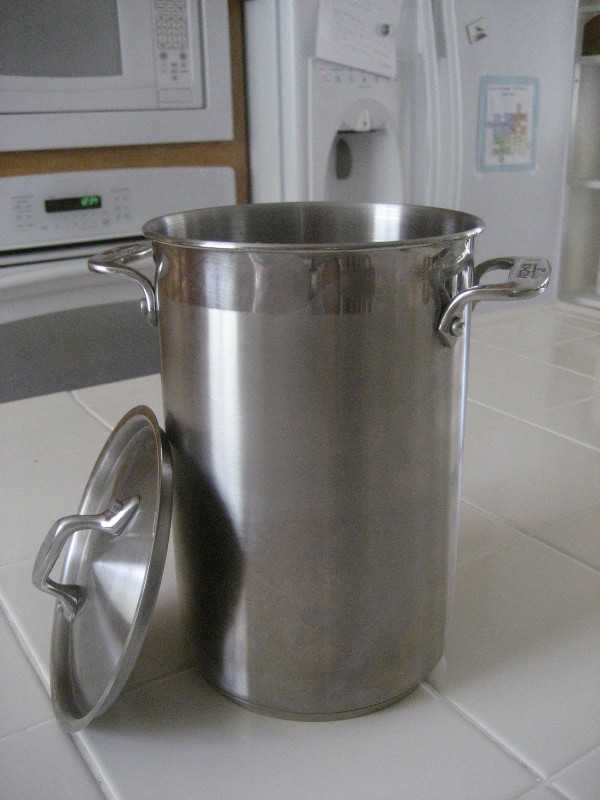
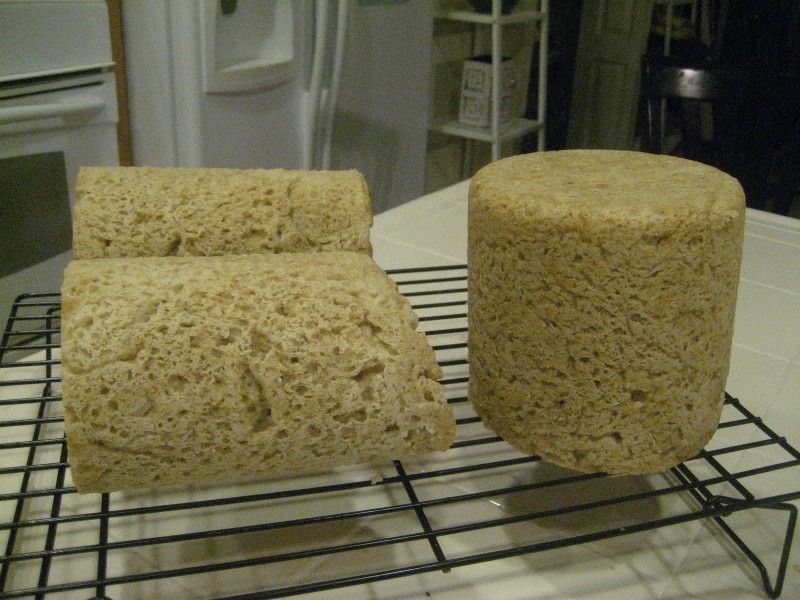
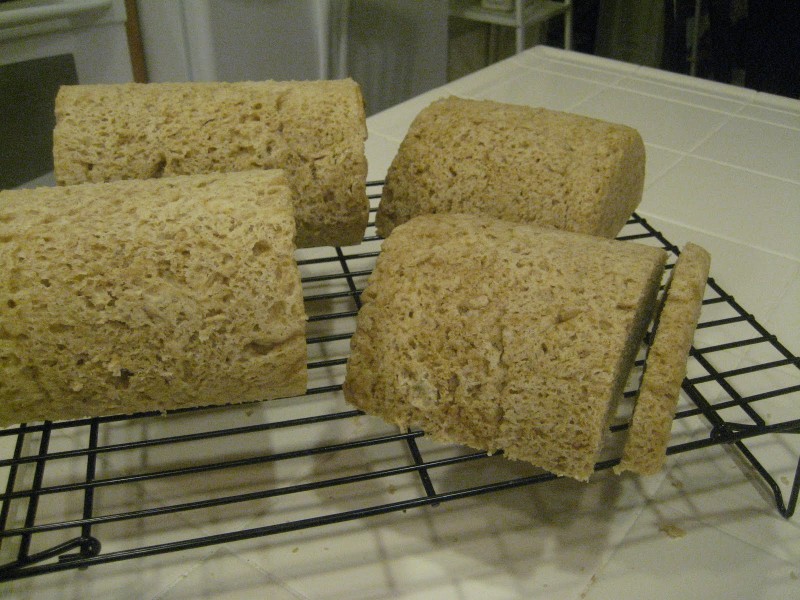
After using it quite a bit I realized I wanted a more permanent container for making bread than the juice cans because the cans have a tendency to rust after a few uses. At first I found a tall cylinder shaped pot with a lid, an ‘asparagus steamer’, which worked quite nicely but was very pricey. Rather than having two juice cans of bread, the one larger pot bakes two loaves worth of dough at once. It makes a bigger loaf; when done, I cut the bread in half and serve in large semi-circle slices. Even though it holds more dough I’ve never had a problem with having to increase cooking time as compared to the juice can method. As long as it cooks a minimum of 2 hours it’s been fine.
**UPDATE: an all around better Wonder Oven bread container (because it’s so much more affordable) is a 3.5 quart Bain Marie pot. This sized pot will hold two recipes worth of dough (same as the asparagus steamer you see below) – or – (2) two quart containers may be used in the same way you see the two juice cans below (one recipe in each pot). This Stainless Steel Bain Marie Pot (purchased w/ lid separately) is available for the 2 quart pots. You can also find many different sizes of bain marie pots at restaurant supply stores. Read my review of these containers here in this post for more details.
How to make “wonder bread” (using a Wonder Oven)
Using Juice Cans
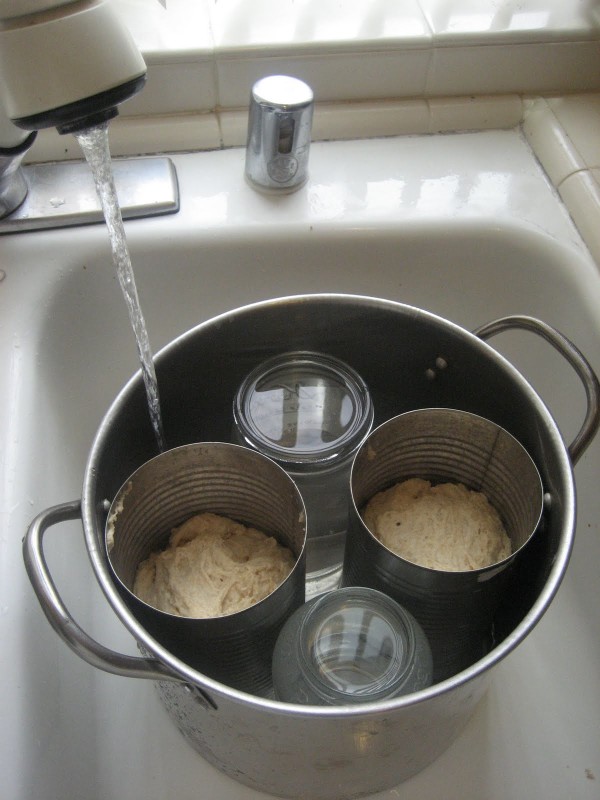
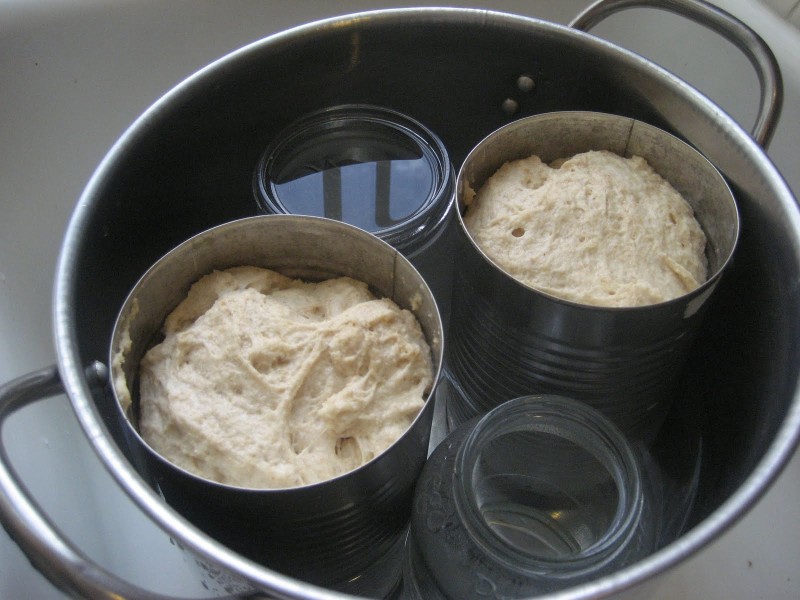
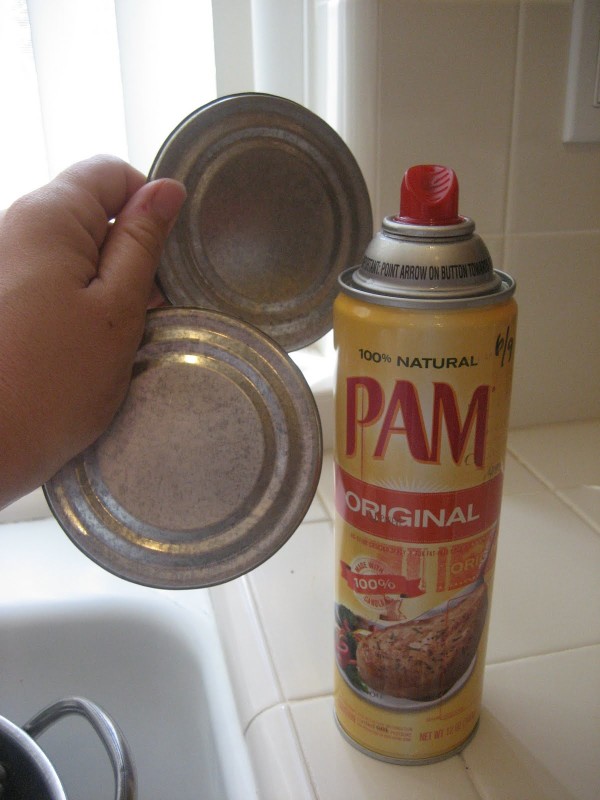
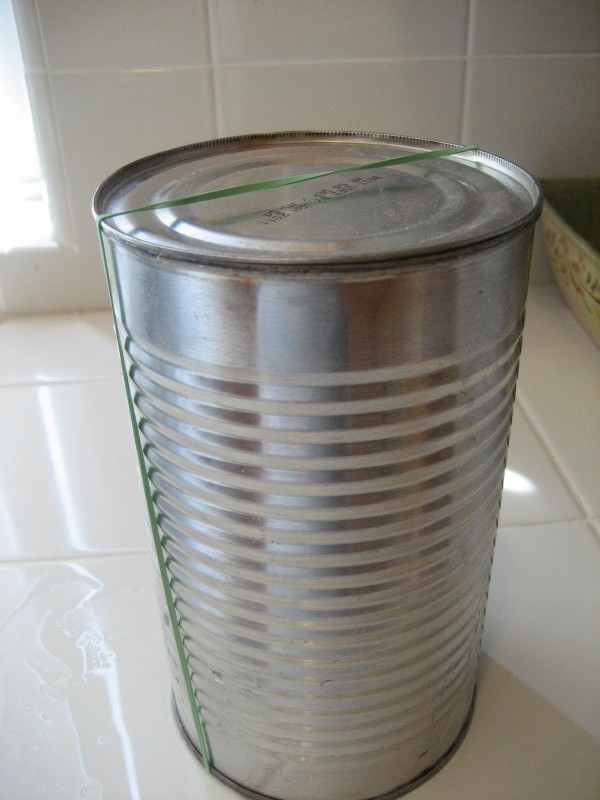
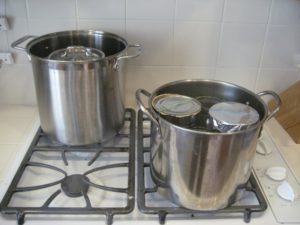
Use your favorite recipe for any kind of bread. Mix up the dough and let it raise once (if that is what your recipe calls for) and then after pushing it down for the first time put it in a 46 ounce juice can that’s been greased (I use Pam). Fill two cans about half full with dough and put them in a larger sized pot with two large Mason jars filled with hot water in order to keep the cans from tipping over into the water. Fill the pot with warm water (I do this in the sink), about 2/3 up the can. Let the bread raise until almost to the top. Very carefully (as not to make the raised dough fall) remove the cans and cover the top with a pre-greased piece of tin foil or the original lid (if you have a Pampered Chef can opener to initially remove the juice can lid with the lid will fit nicely on top and can be used over and over again). Put an elastic band around the tin foil or lid (so that the water doesn’t get into the bread). Put the lid on the large pan and bring the water to a boil and boil for 10 minutes. Put immediately into the Wonderbox and “bake” for 2 hours.
The great thing is that you can leave it for as long as you need to without worrying that it will overcook. This batch today that I did (pictured) was in the Wonderbox for a total of about 6 hours but like I said before 2 hours would be the minimum.
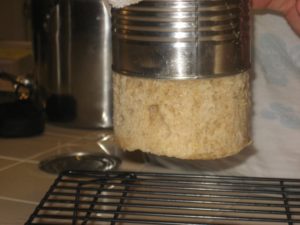
The bread slides easily out of the cans, nice rounded loaves which then make slices close to the size of a hamburger bun. They have no crusts (which my kids love), and are the same texture as regular bread although much more moist. You just have to taste it, it’s “wonder”-ful!
Container choice #2: an asparagus steamer
Same directions as above excepting that you can use double the amount of dough and you don’t need to secure the lid with a rubber band before boiling. I prefer using this container.
A Bread Recipe We Like
Here’s the recipe I always use when making bread in my Wonder Oven. Feel free to use it or try another recipe of your own!
Wheat Bread
1 T yeast
2 T sugar
2 cups very warm water
1 1/2 tsp. salt
2 T oil
4 c. flour (1 1/2 c. wheat)
Mix thoroughly until soft and smooth. Rise 25 minutes until it doubles in size. Punch down. Makes two loaves.
A couple other points:
★Be sure that when you get to the boiling stage that you remember to put the lid on while it’s boiling because it’s important for the lid to get really hot.
★No peeking during the cooking time in the oven!
★The only thing I have not had good results making in the Wonder Oven is cake–I can’t get that one to work.
Step by step pictures:
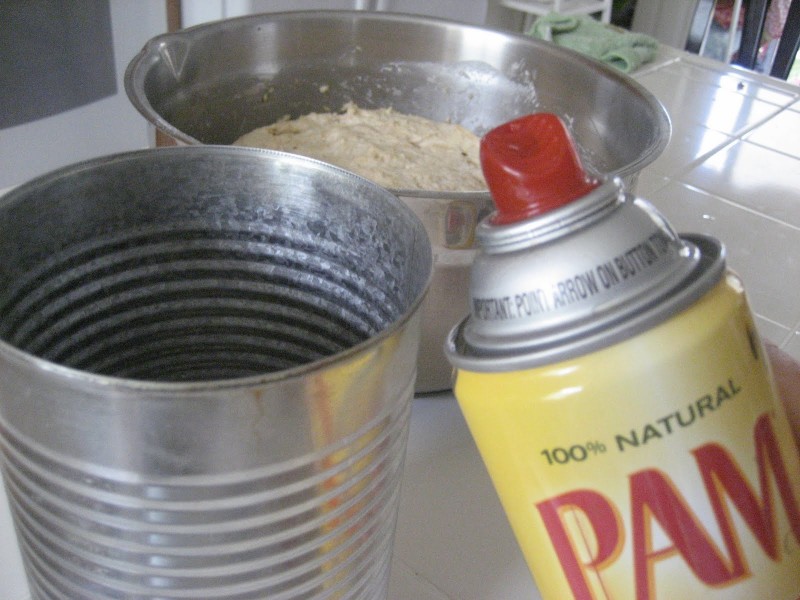
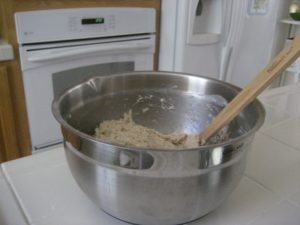
Allow the bread to rise once in the mixing bowl and remember to
grease the cans before putting the dough in them.
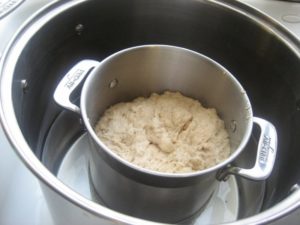
With your bread containers half filled, fill the larger pot with warm to hot water and
allow the dough to rise again, 25-30 minutes.
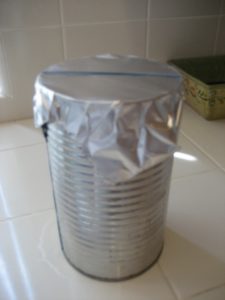
each can from the pot and place the lid/foil
and elastic band on each.


[…] Milk Whipped Topping How to Make Bread in a Wonder Oven Muffins made in a Wonder Oven Meat Cooked in a Wonder […]
[…] Oven. The wonder oven may not look like much, but it’s pretty incredible – you can even bake bread in it! Learn more tricks and tips on using a Wonder Oven […]
[…] Food Storage Cookbook – Detailed step-by-step instructions on how to make bread and many more things in your wonder […]
[…] The Wonder Oven featured by My Food Storage Cookbook. A “Wonder Oven is a heat retention cooker whose underlying mechanism lies in it’s two “bean bag” type pillows (filled with styrofoam beads) to hold whatever temperature steady for many hours.” […]
I was wondering if a Pullman bread pan would work. It comes with a lid and would then give you square “sandwich” bread.
I really love your idea! Wow, I’ve never used a Pullman pan before, but I’m on my way over to Amazon now to order one so I can play around with it to see what it could be used for combined with a wonder oven. Thanks for the comment! Great idea! I’ll see what comes from it and let you know!
HI Megan! One way to use a container that doesn’t have a proper lid and to NOT get the AlFoil spots on top is to cut a piece of parchment/baking paper just smaller than the top of your baking container and let it ride on top of the dough then you can still cover the can or pan with the foil and rubber band it on. I used this trick with a tall glass baking dish and it worked!!
Loving your site and all the slow cooking ideas. I just got a thermal cooker and have been experimenting.
That’s a GREAT idea! Thank you! I’ll pass it along the next time I get the opportunity.
[…] the same style of pot as I’ve used for bread, my solution is to use a smaller sized Bain Marie pot. I’ve tested it and it works great! […]
[…] How to make bread in a Wonder Oven […]
What size of pot is yours that the water is in … that the asparagus pot fits in? Does your bread recipe make one batch in the asparagus pot or if using the juice cans it makes 2?
It’s an 8 quart pot. Here is the link to find it. If going with a Bain Marie pot (linked here, remember to buy the lid separately), because it’s shorter you won’t need such a large pot. Hope that helps
Oops…I neglected to answer your 2nd question about the recipe.
Yes, the bread recipe makes one batch in the asparagus steamer/ 3.5 quart Bain Marie pot. If using the juice cans (or 2 quart Bain Marie pots) it’s divided in half.
[…] exemplifies the idea that in using a wonder oven your pot and lid act as a “mini-oven”, just as in making bread, where you can bake using just a minimal amount of fuel (even in the morning) if the power is […]
[…] all the difference between eating a bag of flour, or instead enjoying yummy PASTA, TORTILLAS, & BREAD!!! She even made some CREAM CHEESE to compare to store-bought cream cheese and no one could tell […]
[…] Making Bread in a Wonder Oven This is one of my absolute favorite preparedness “how to’s” as well so […]
I am loving the wonder oven!!! But I can’t figure out how to make brownies. Do you have any insights? I’ve tried a few times but to no avail.
Also, I hope it’s okay to post this here but since I’m loving the wonder oven so much, I’m open to making them and selling them for people that don’t want to make the pattern and sew it themselves. I can be contacted at brittle91@gmail.com.
Thank you!
Sure — please tell inquiring minds what you’re price is before shipping for the pillows.
I haven’t gotten around to trying the brownies yet in my wonder oven but I’ll give it a try and let you know. I have a crockpot brownies recipe (Martha Stewart) that I was intending to try. Many times crockpot recipes work well in wonder ovens. I’ll have to get back to you to see if this one works or not. One thing about the instructions I see (maybe it’ll be helpful) is that it cooks for 6 hours — so it’s long on the cooking time. Were any of your problems due to under cooking?
That is the coolest thing I have ever seen! I am going to go get me a wonder box and start baking. Thank you for the instructions….very helpful!
Looks fabulous! Thanks for sharing your experiences – I have a wonder box but have yet to try it . . . maybe now I’ll get started!