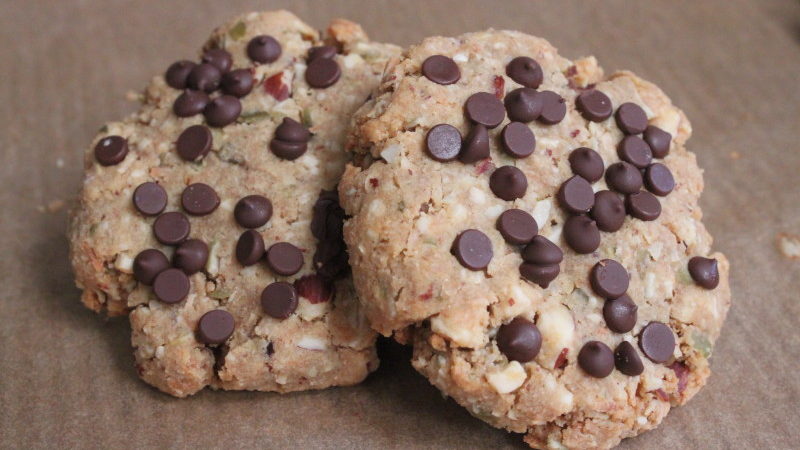
Lately I’ve been exploring ways I can improve the nutritional goodness of what I cook for my family. I’m trying to get rid of (or at least greatly reduce) refined sugars, flour and grains and get more whole foods in our diet. You might think this idea might not go along with preparedness cooking, but so far in my journey I’ve found many recipes to prove in fact, that it’s quite possible to have your food storage “cake” (or in this case your “cookie”) and eat it too!
This recipe was shared with me by Amy Grady from At My Kitchen Table. I had the pleasure of attending a live cooking class she offered recently where these cookies were shared and I loved them! The recipe isn’t found on her blog, but as it came from her I want to give her the shout out as well as let you know where to look for other great wholesome recipes. Since then, I’ve made them twice myself and everyone’s loved them, so I’m calling the recipe a keeper.
You can PRINT the recipe here –> Breakfast Cookies Recipe.
This printable recipe is the original recipe page I received from Amy and scanned for you. Very kindly, she gave me permission to share it with you here. Continue reading and you’ll see how I tested out these cookies using powdered dehydrated eggs and how I baked them in my Sun Oven!
***
Breakfast Cookies (makes 12 large cookies)
1 1/2 cups mixed raw nuts and seeds (I used cashews, almond and pumpkin seeds), roughly chopped
1 cup raw coconut flakes
1 1/2 cups blanched almond flour
3 TBS coconut flour
3/4 tsp. baking soda
1/2 tsp. sea salt
2 TBS coconut sugar
4 TBS melted coconut oil
2 eggs (*for food storage, could use egg powder/ water)
4 TBS honey
2 tsp. vanilla
Dairy free chocolate chips (used to top the cookie)
Instructions:
Preheat oven to 300 degrees. Line a rimmed baking sheet with parchment paper. Place the raw nuts and coconut flakes on the baking sheet in a single layer to toast. Bake until lightly toasted, about 10 minutes. (*Sun Oven: watch closely between 10-20 minutes until desired toasting is completed.) Remove from oven and set aside to cool.
In a large bowl, combine almond flour, coconut flour, baking soda, salt and coconut sugar and whisk to combine well. Make a well in the center of the dry ingredients and place the beaten eggs (*or 2 TBS whole egg powder mixed with 1/3 cup water), coconut oil, honey and vanilla and beat well. Combine everything until mixed completely. Now, add the toasted nuts and coconut flakes and stir together. Allow the dough to sit until it firms up (making it easier to handle), about 5 minutes.
Line a rimmed baking sheet with parchment paper if desired. Divide the dough into 12 equal portions, each about 4 TBS in volume (*or less, depending on tray space cooking with a Sun Oven) and about two inches apart from one another. With damp hands, shape each portion into a ball, return to the baking sheet and press into a disk about 1/2 inch thick. Scatter 5 or 6 of the chocolate chips on top of each cookie and gently press to help them adhere.
Bake in the center of the oven (*Sun Oven: however you can cram the cookie trays into the box, venting the glass door) and bake until the cookies are puffed, pale golden and brown around the edges, about 12-15 minutes. (*Again, using a Sun Oven, keep an eye on those cookies. They’ll probably be done right around the 20 minute mark.)
Remove cookies from oven and allow to cool on the baking sheet about 10 minutes. Transfer to finish cooling on a baking rack.
***
Recognizing this recipe only has one ingredient (the eggs) which (without chickens) would need to be swapped out to become a food storage recipe, I decided to test it in my Sun Oven!
As a note, I’ve never (never in many recipes tried) burnt anything in my sun oven. It’s actually been a task sometimes to get things browned (as with this bread recipe). Because of this, I was curious whether “toasting” the nuts would happen easily…or not!
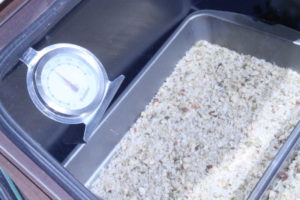
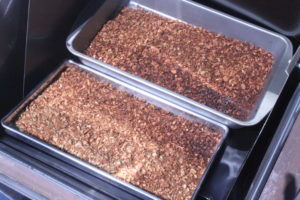
I left them in the 300 degree oven (which to bake normally requires around double the time a conventional oven calls for)…for about 20 minutes (twice the time) and yowzers…what happened? I came back to discover my chopped nuts and coconut flakes weren’t only toasted, but on the thinner parts of the trays they actually burnt! This was exciting! My guess is that it was due to the strictly dry ingredients being baked. (No moisture or steam to slow things down.)
Mixing together the dough. Dry ingredients first, wet ingredients second. Then add your toasted nuts and coconut flakes.
If you’re using powdered eggs, the best way to do this is to just add the dry egg powder into the other dry ingredients you’ll mix together and set aside the (egg) water to add in after the other liquid has been added – just so you don’t accidentally make your dough too wet. Testing this out, I only ended up needing about 1/2 of the required water (your area’s humidity level will make a difference).
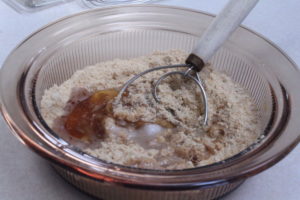
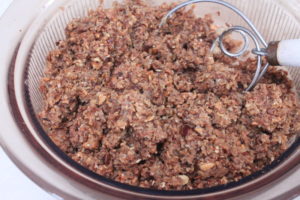
Scoop the dough onto your cookie trays,
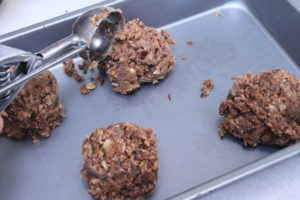
Roll each scoop into a ball and flatten into a 1/2 inch disc. Sprinkle some chocolate chips on top (I may have used more than the 5-6 the recipe called for) and press the chips into the dough a little extra so they stick to the cookie.
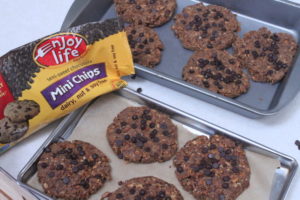
Ready to bake!
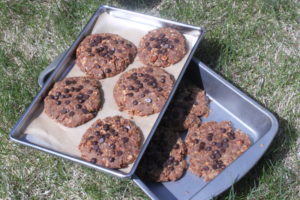
I wanted to check whether it was useful or not to use the parchment paper in baking with the sun oven, so one tray had it while one didn’t. In the end, it really didn’t seem to make a difference. There’s quite a bit of coconut oil in the recipe, so with that the cookies lifted off the trays without too much of a problem.
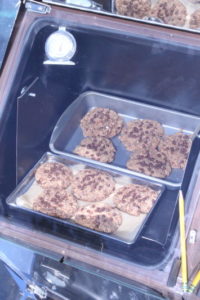
Remember to create a vent for the steam to escape (notice the pencil pressed beneath the lower door clip – that’ll do it!).
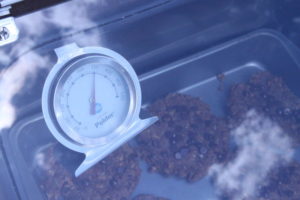
350 degrees on a partly cloudy day. Not too bad!
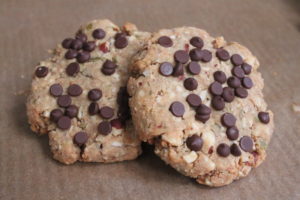
The Sun Oven cookies baked for 20 minutes. Also, the difference in results for using the powdered eggs wasn’t noticeable. This is a great recipe for easy-to-transport nutrition, whether it be for breakfast or a quick snack. Gluten free, mostly (beside the chocolate chips) refined sugar free, can be made dairy free (*see notes) and overall very kid -and everyone else- friendly. What kid would turn down a “breakfast” topped with chocolate chips?
***
Notes:
- The non-dairy chocolate chips I chose to use in this recipe are made by “Enjoy Life”. Check them out!

