Print the instruction card! Wonder Oven Muffins
We’ve had an extra busy week with family in town (and preparing for a spring break family trip) but, luckily, having a Wonder Oven is a big time saver in getting a meal on the table!
A big part of my breakfast plan includes different varieties of muffins. This post is a “how to” on how to make muffins in an alternative way using your Wonder Oven! You’ll notice it’s similar to making bread in a Wonder Oven but just on a smaller scale. There are two reasons I love it: 1) I can set the muffins going before I go to bed and have them ready first thing in the morning. 2) I have a way to make muffins even without an oven. And 3) muffins made this way are especially moist and delicious. You’re going to love making muffins this way!
Due to the fact that there’s an abundance of muffin recipes out there I won’t be including a recipe — they’ll all work. One note however about turning regular muffin recipes shelf stable … simply exchange egg powder and powdered milk in place of fresh, oil in place of butter. These ingredients swap out (usually) without any problems or altering the taste of the recipe.
Many thanks to Linda H. who originally introduced me to the idea of this! BTW, a Wonder Oven video of hers (incase you missed it) is posted here, at the bottom of 9/16’s post.
The Gear
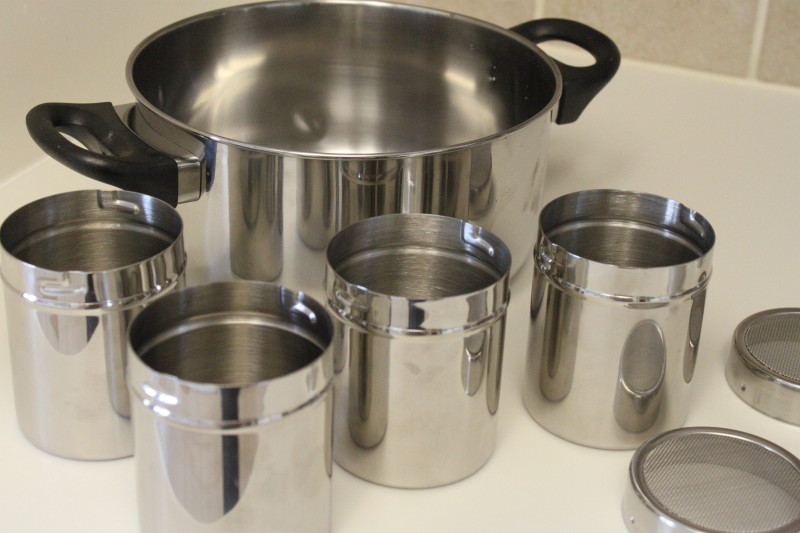
You can make muffins in a Wonder Oven using any small can (such as an evaporated milk can). As I did with the Wonder Oven bread I went searching for a more permanent container and what I settled on were these Dredger cups from Sur La table (click here to see buying info). The main reason I like these better than using cans (no lids) is because there isn’t any contact of the muffin batter to the aluminum foil you use in covering them. I’ve found that when the muffin batter is in contact with the foil, it results in aluminum spotting on the muffin itself, which you can easily just cut off and discard, but for me I’d rather not have at all.
Ideally you would want a container similar to the one I found here but with a solid lid (the one here has a meshed wire lid) — I’ve not been able to find that so I settled on these.
Finally, you’ll also need an appropriately sized pot to cook in. If using smaller sized cans, a shorter sized pot is best, if using the dredger cups mentioned with the lids on, you’ll need the pot to be a little taller so that the pot lid will fit on top.
The Process…
(this is the process you’d use if you wanted to use regular cans without lids. We’re going to pretend that my muffin cups are soup sized cans for a second …)
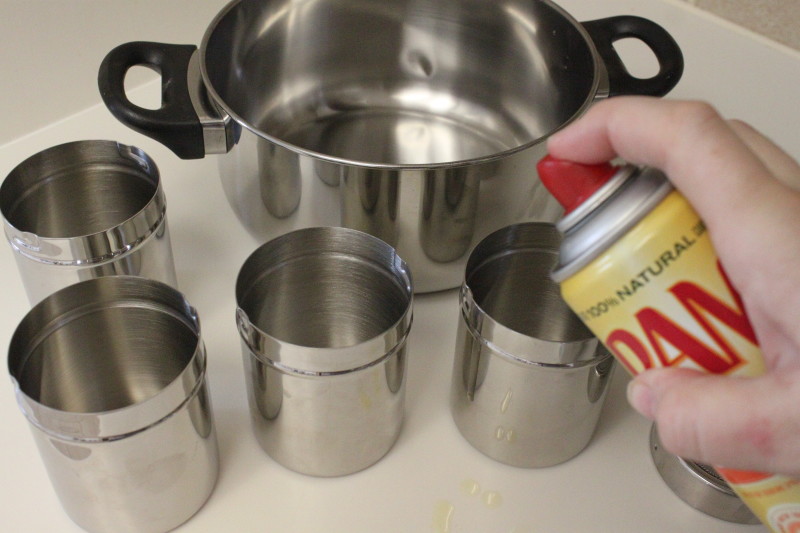
Begin by greasing the muffin cups
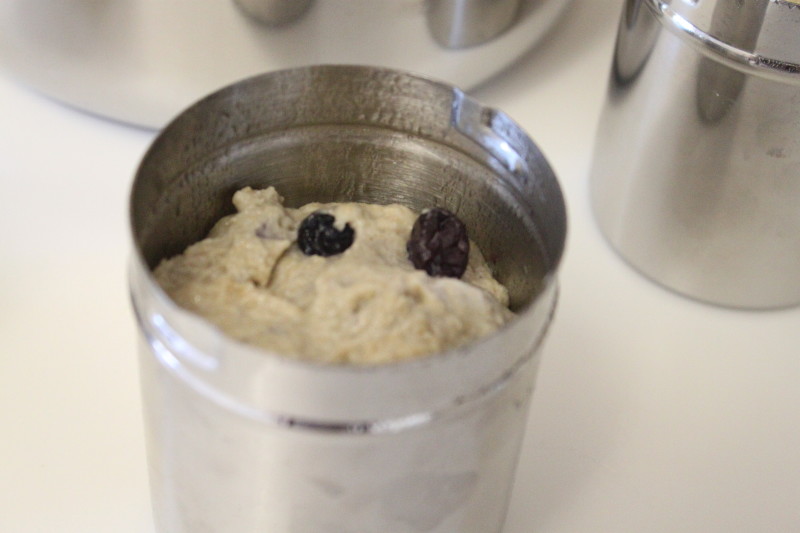
Fill the cups 2/3 the way full with muffin batter. Any muffin recipe will work — I’m making blueberry muffins here.
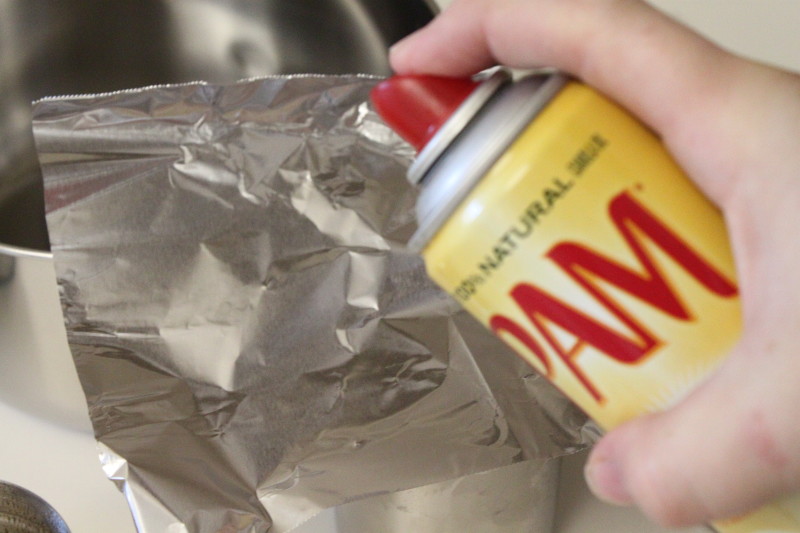
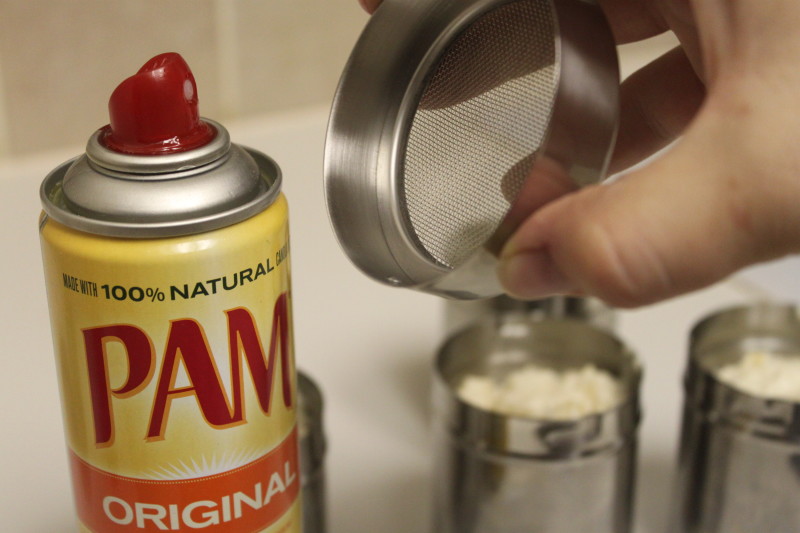
Spray the foil that will be covering the muffin cups before placing on top of them…
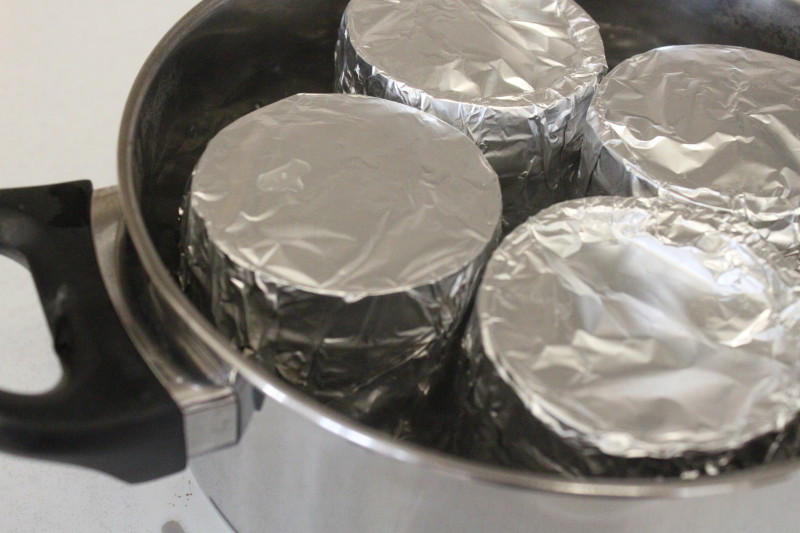
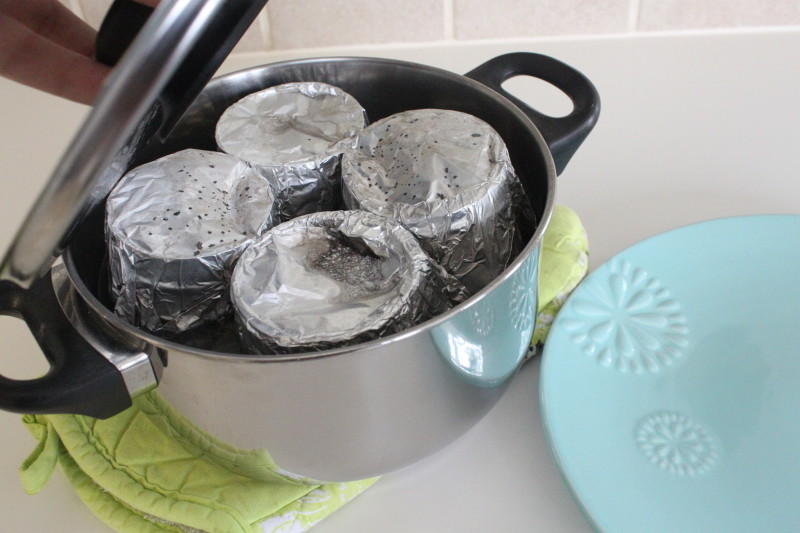
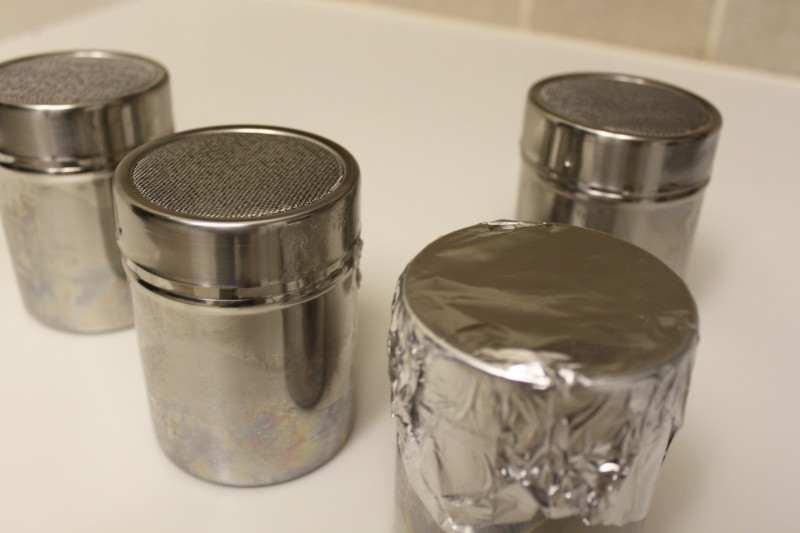
Cover the muffin cups with foil — secure with a rubber band if desired. A rubber band will just keep the foil on tight while boiling.
Fill water in the pot until the cups are sitting in water about 2/3 their height.
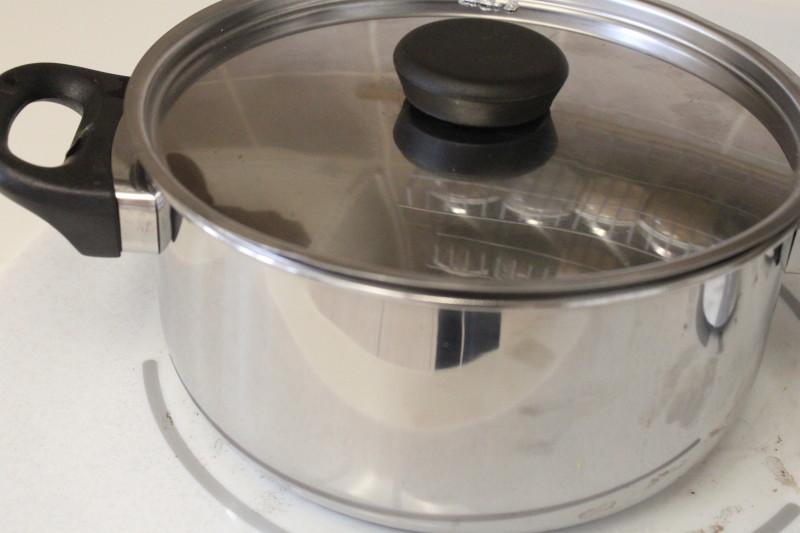
Bring water to a boil, then boil for 10 minutes. Be sure to replace the lid mid way through so that the lid has a chance to get hot too.
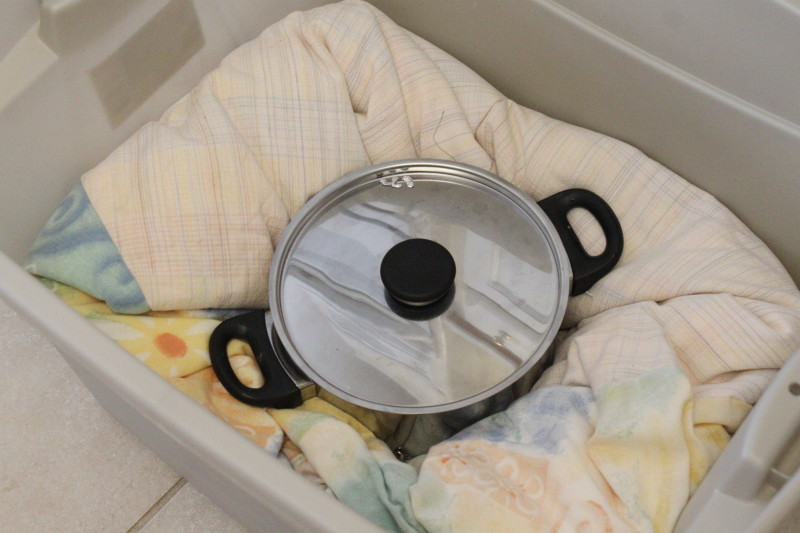
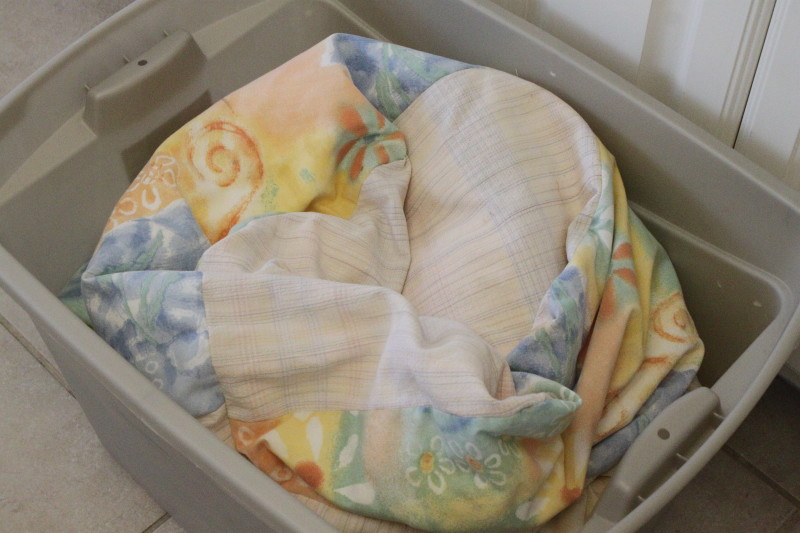
Place in Wonder Oven for 3-4 hours minimum or overnight if making for breakfast.
The muffins are ready to go…
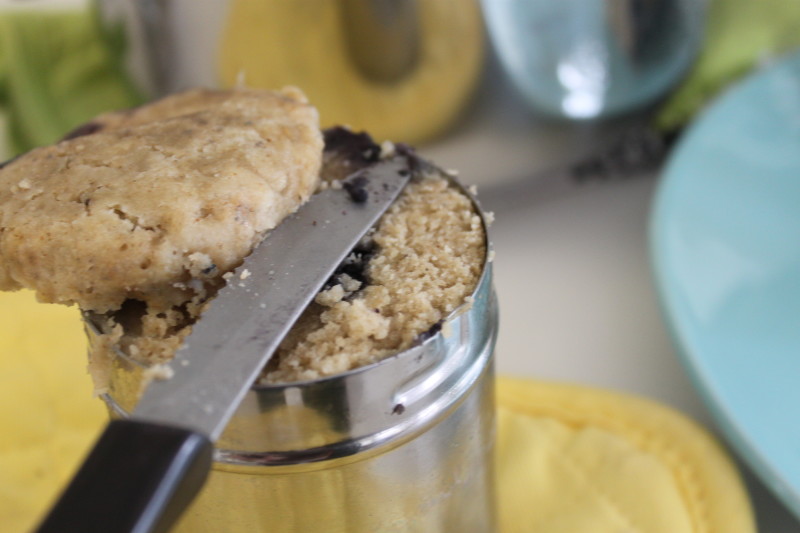
As I said before, with the muffins in direct contact with the foil, the foil seems to find it’s way onto the muffins. You’ll want to discard the top portion.
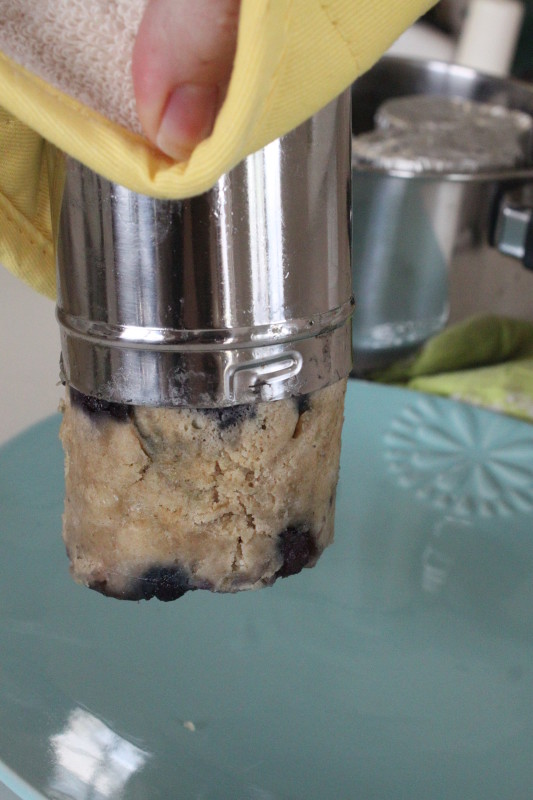
Go around the cup with a knife to help loosen if needed before bringing the muffin out.
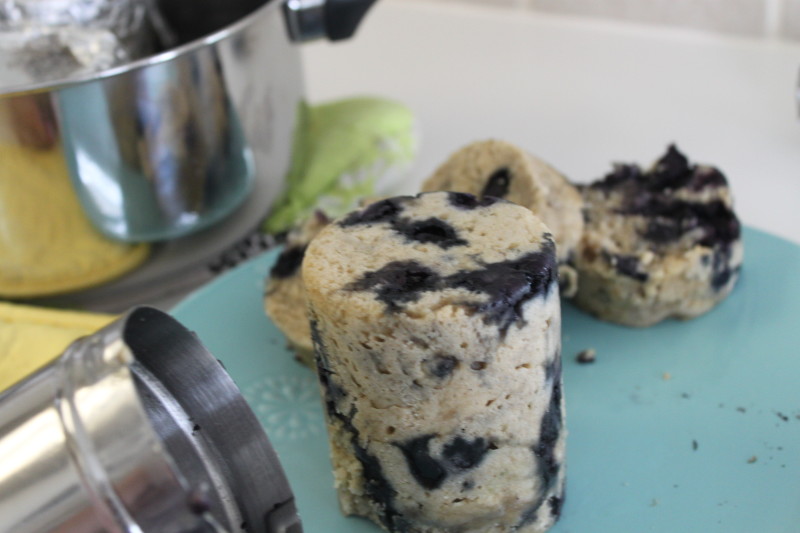
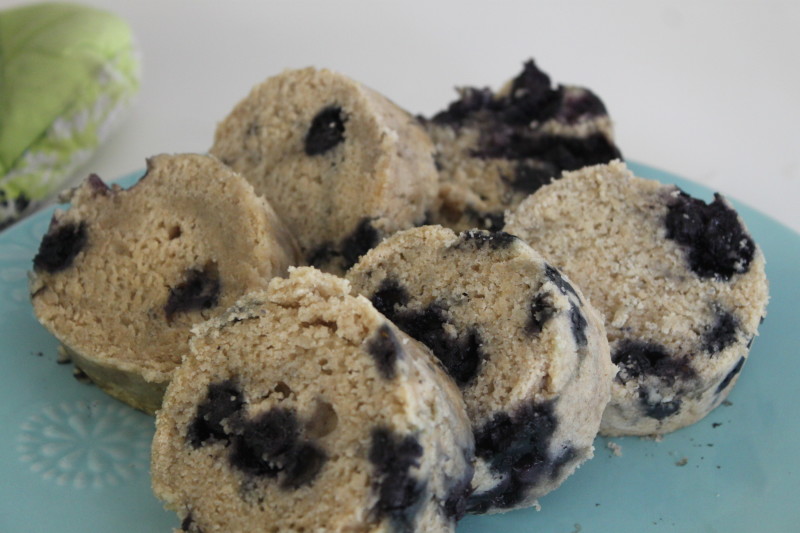
And here’s what our little muffin bullet looks like. Slicing it will yield 3 muffin portions, so in using 4 muffin cups you’ll end up with 12 muffin slices like this.
Hot and moist muffins ready to eat!
~~~~~~~~~~~~~~~~~~~~~~~
Next, this is the process I use with the cups I’ve bought including the lids. You do have to still cover the lids with foil, to keep the heat in and allow it to cook (the lids here are made of a mesh wire), but atleast this way the foil isn’t touching the muffin batter so you don’t get any foil on your muffin.
Spray your cups before filling them.
Spray the inside of the lid…
Cover lids with foil, securing with a rubberband if desired.
Continue with previous instructions…
~~~~~~~~~~~~~~~~~~~~~~~~~~~~~~~~~~~~~~
I really enjoy making muffins in my Wonder Oven for how moist and good they are made this way! I know you’ll enjoy it too!




[…] Milk Whipped Topping How to Make Bread in a Wonder Oven Muffins made in a Wonder Oven Meat Cooked in a Wonder […]
[…] 14) Strawberry Banana Muffins (home recipe, made in her Wonder Oven like this) […]
I bought the dredger cups suggested in this article for making muffins, but wanted to make it sustainable – so that meant no tin foil. So far, I found that the tops from steel vegetable cans fit perfectly between the dredger cups and the mesh lids. I’ll have to be careful of the sharp edges, but I won’t have to stock up on foil for making muffins in the Wonder Oven.
What a fantastic idea Janet! I love it! Thank you so much for telling us all. I’m definitely going to try that!
I went to the Indian Store. I bought several stainless steel cups $1.49 each and Stainless Steel two canisters about quart size with lids. They had the LARGE tiffin boxes for $24.99 A large chinese local store had tiffin boxes for $29.99. But they were really large, not sure if they would work in the Wonder Oven.
And SUPER CHEAP of the dredgers stainless steal can with lids at WORLD MARKET only $1.99 each!
CHEAP! And if you sign up for their newsletter etc. you get a discount coupon
Look at the bottom row. The dredgers, they call a mess strainer and the tiffin lucnch box for less than $10.00 to try cooking brownies etc.
http://www.worldmarket.com/search.do?query=stainless+steel+containers
Oh wow, thank you for sharing that! They look good from the pictures!
[…] Wonder Oven Muffins Of course I hoped these would have made your list, and they did! Everyone needs to know how to […]
Megan, I’m finally getting around (I hope) to trying to make muffins in my Wonder Oven using those awesome salt and pepper shakers you sent me. Many thanks again! But I have a question or two: 1) the instructions say that the pot should be slightly taller than the height of the cups. I can fit them into a pot that is slightly shorter than the height of the cups and the lid fits on even better that way. Is this okay? 2) Instead of putting greased foil on top (because of the S and P holes), can I put the plastic caps on? 3) Would it be better to use the plastic caps rather than the metal lids if I’m using them anyway? 4) You said “be sure to replace the (pot’s) lid mid way…”. Why wouldn’t I just put the lid on right away and leave it on? 5) In a situation where I don’t have parchment or wax paper, would it work to place plastic disks in the bottom of the containers? I’m looking forward to your reply.
Hi Connie,
1) Sure — so long as the lid fits. The point is to have the pot as close to the same height of the pot as possible so that you don’t lose heat with the extra air space. You must have a domed lid? So long as the lid fits on top and seals you’re good.
2 & 3) I wouldn’t recommend using the plastic lids (the ones that came with the S&P shakers) at all as far as cooking with them. The reason being that I don’t trust the chemicals in plastic from leaching onto the food being cooked. Since I wouldn’t bake with plastic I wouldn’t use it here either. With how hot it’s going to get (hot enough to bake muffins) I really only trust metal. Grease the underside of some foil (just to cover the holes in the lids) to be safe.
4) That’s fine, you can put the lid on at the beginning too. My point was just to make sure to have the lid on while it’s boiling so that it’s *hot* before putting the pot into the wonder oven.
5) Again, I would stick with food safe options. If you wouldn’t bake using it in your oven don’t do it here. It’s easy to underestimate how hot the temperature really is in the wonder oven and plastic at high temperatures isn’t a safe option.
Hope that helps! Good going for you! I’ll look forward to a report back on how it goes!
I hope this is appropriate to leave here! I am loving this wonder oven thing and I’m open to making them and selling them for people that might not know how! Just email me at brittle91@gmail.com.
On another note, I have no idea how to make my brownies work out. I’ve tried a few times with no success. Any ideas?
Thank you!
Sure Brittany! No problem w/leaving your information. Do you also want to tell us what your final cost (minus shipping) is? It’s always great to know what’s out there. Honestly, I haven’t gotten around to trying the brownies yet so I’m sorry I can’t help you. I’ll give it a try this next week and let you know what happens.
Brittany – what sort of issues have you been experiencing with your brownies?
I’ve had some success with my steamed brownies & blondies, but found that they work better in a wider/flatter pan instead of a cylinder. In the cylinder, the center was always a little bit undercooked. I currently use a 6″ square stainless tiffin pan (like LunchBots), but have gotten single-serve brownies to work in the 5-10 oz flat chicken/tuna cans as well.
Jars work well if you put a parchment paper or waxed paper circle on the bottom. Make sure you use tapered wide-mouth half-pints or pints.
Oh my goodness! Why didn’t I think of that?! Thanks for the light bulb moment!
You never cease to amaze me!!! I went right out and bought some dredger cups!! I have a Saratoga Jacks thermal cooker and I am cooking some muffins right now as I type this. I can’t wait to open the lid in a few hours. Thank you so much for sharing your inspiration with all of us!!!
Ok, I found a place to get the pellets in town, but how much do I need for two ovens? They sell them in a 3 cubic ft. Bag. Do you have any idea?
I guess I need to know how full do I fill the pillows?
Great Barbara, I’m so glad you’ve found the pellets — that’s the trickiest part. You need them to still be floppy — unfortunately I can’t remember exactly how much goes into each one. You should call Angie Jerome, she’d know for sure since she makes them to sell. If you find out would you post it here again as a reply so other people can have the information if their wondering how much to buy per pillow? Thanks!
Great blog! I made a wonderbox after reading your posts, thanks!
I wonder if these muffins would work out in canning jars with lids on? I’m thinking the wide mouth half-pint or even the tiny 4oz jars?
Christianne,
Linda, the woman who I mentioned at the first of the post who taught me this method liked your idea so much that she tried it out herself. This was her experience with the canning jars as well as what she thinks about using cans and (another smart idea that was shared) using oven bags cut into squares and secured on the tops of the cans (instead of foil) so as not to have the problem with the foil oxidizing. She writes:
“As I said, I tried some muffins in wide mouth 1/2 pint jars. They cooked okay, but even though I sprayed them with PAM, just like I do when I cook in the soup cans, I had to actually dig them out in pieces, they didn’t just slide out like they do when they are in the cans. So I would still go with the cans, and just exchange the cans out periodically if they start to rust. If you can find the cans that have the gold lining in them, like I use when I do bread in the 46 ounce Vegetable Cocktail can from Kroegers (Smiths), they work the best and don’t ever rust. I like the idea of cutting squares out of the Cooking/roasting bags and put them on the top of the cans and hold them on with rubber bands, rather than using the tin foil, so we don’t get the aluminum oxidizing. I really liked the idea of the glass jars, but they just didn’t work well!”
I’ve used a hot water bath/steamer to make Asian steamed cupbread/cakes (mushipan); but never thought to try it on regular ol’ muffins. DOH! Looks yummy! Bet this method would work for brownies and coffee cakes as well.
Heads up when using powdered egg and milk (instead of fresh) in many boxed baking recipes when you’re using oil or applesauce instead of butter/margarine/shortening, you might need to reduce the total reconstitution water by 1-2 tablespoons or the batter can be really gloopy and won’t set up well in the center. No one likes a muffin with mushy guts!!
Good note about the additional water — esp. with something like this where extra moisture can make such a difference. And –great idea– I bet brownies and coffee cakes would work! I’ll have to try it out and see! I have tried cake batter before but haven’t had success, it was probably just too thin of a batter!