Print the recipe page! pizza
Let the joyous news be spread, pizza is on the menu as a food storage and sun oven meal!!
A little history. I’d never considered pizza as a food storage recipe until Karen from www. kneadfulthingsnow.com talked about it here. I know I rave about her a lot. The funny thing is that I haven’t even met this woman — someday when I do I’m going to give her a big hug and thank her for being so smart! Anyway, Karen had some awesome ideas there that got me realizing that fun normal foods like this were possible in a food storage plan! Who would’ve thought?!!
So, it was decided. We would be having pizza…somehow.
The second phase of getting pizza on the menu however was that I had to come up with a way to bake it in a sun oven. The last thing I wanted was to have spent a lot of money on freeze dried cheese ($3- $4 per cup) and other ingredients and then be dependent on electricity (which may or may not be there) to be able to make our pizza! So this is what I’ve come up with.
My method of sun oven madness here was in response to one main challenge I found. How do I cook the amount of pizza my family usually eats in such a small cooking space?? There are only so many sunny hours in a day to work with. Plus, sun oven cooking usually takes longer… so the question was *how??* This is the best way that I could come up with to do it and for my own purposes I’m pretty happy with it. It does the job, conserves space well in the sun oven and allows me to bake six medium size pizzas!
As far as recipes go, today I’m sharing my all time favorite pizza dough recipe. It comes from a close friend of mine named Lisa who made it once while I was visiting at her house — it was so good that I begged her for the recipe and now it’s the only one I use! I love it because it’s good and so so simple to make.
Prep Time: (active prep time) 40 minutes
Cooking Time: 2 1/2 hours
Makes 6 medium pizzas
Ingredients
Pizza Dough
3 cups warm water
2 TBS yeast
2 TBS sugar
2 TBS oil
2 tsp. salt
8 cups flour
Toppings
2 (14 oz.) jars pizza sauce
Pepperoni (*see note)
Olives
Cubed ham
Pineapple
About 2 1/2 cups freeze dried mozzarella cheese
Tools and supplies you’ll need
3 (black) tart molds with removable bottoms, 11 ” diameter
3 (black) tart molds with removable bottoms, 10 1/4″ diameter
1 wire tray, 9 x 11 1/2
1 wire tray, 9 x 13
dough pricker
paper towels
Instructions
*before beginning, set out the sun oven to preheat. It’s best to begin cooking in the mid morning hours for higher oven temperatures.
To make and bake the pizza dough
Combine warm water, yeast and sugar. Allow to soften for 5 minutes. Add oil, salt and flour and mix until the dough is no longer sticky. If needed, add additional flour 1/4 cup at a time. Knead for 5 minutes and then rest the dough for 10 minutes. Don’t rise, just make and bake. Roll out onto a greased pan and bake at 450 for 12-15 minutes. In a sun oven at 275 degrees, this dough bakes in about 45 minutes following the instructions below.
Make the dough
Divide dough into six dough balls.
Grease pizza pans and spread dough in each one. Prick the dough and bake.
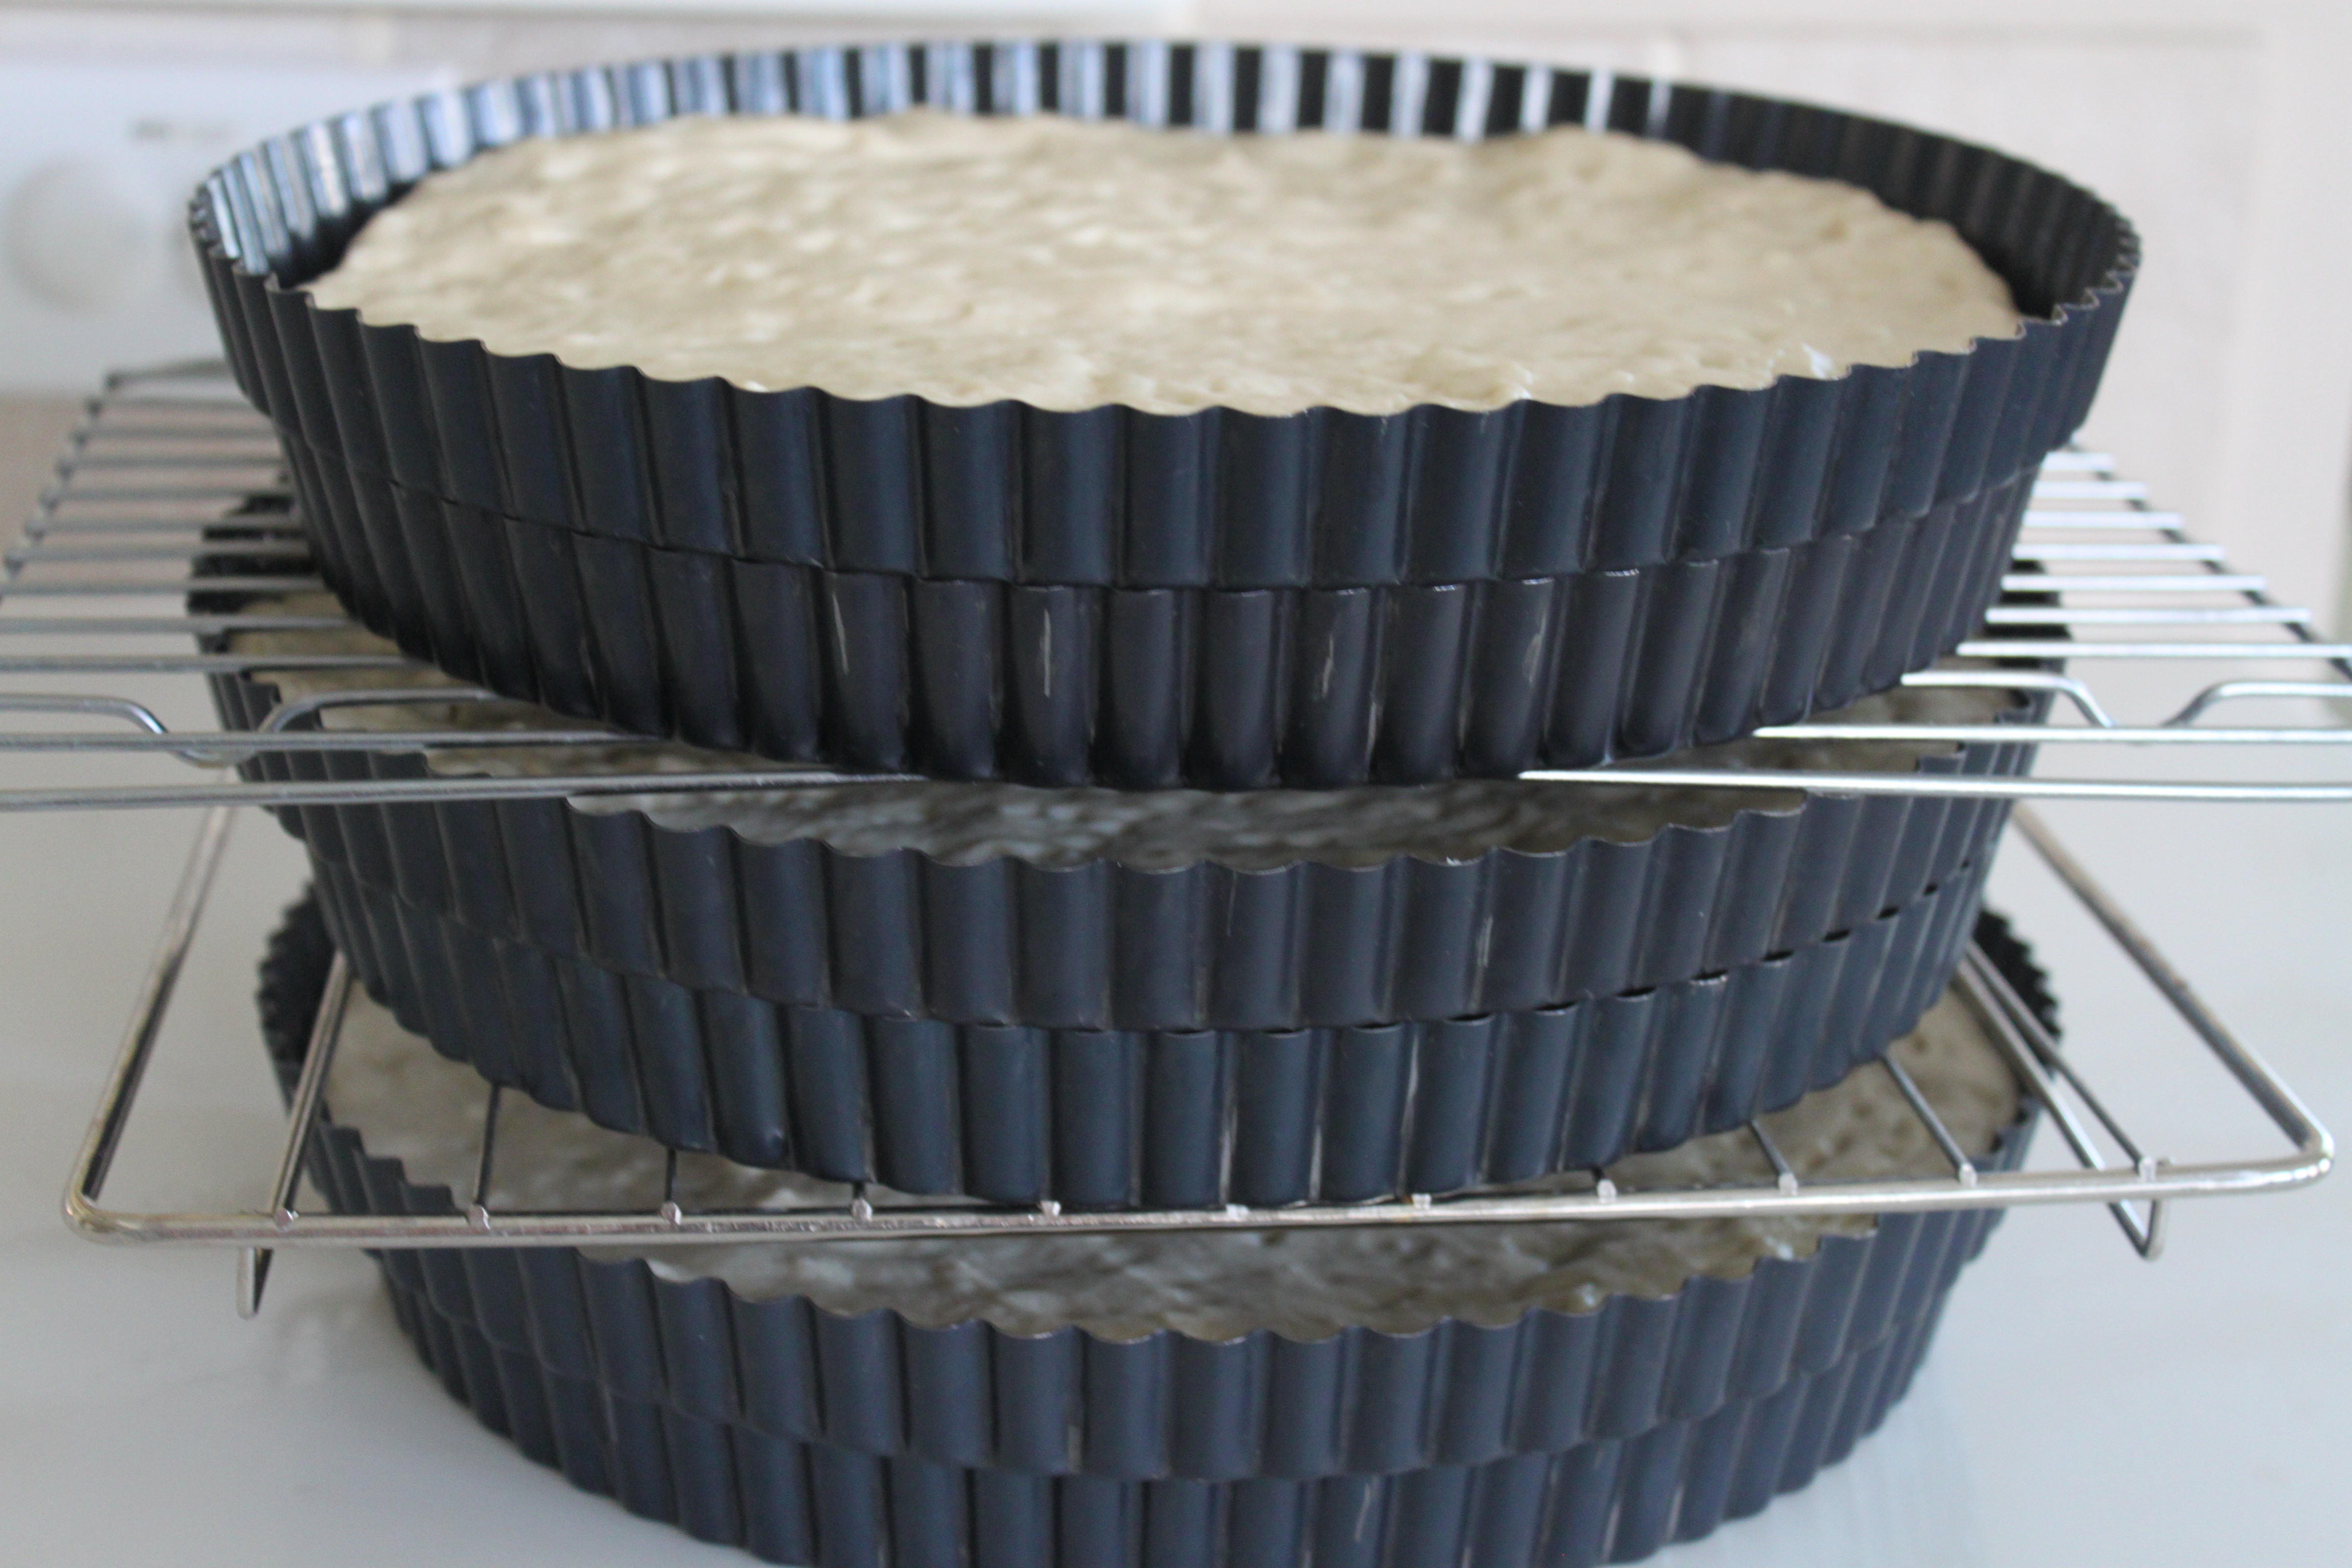
Since it’s pretty difficult to visualize and picture the stacking of the pizza crusts in the sun oven (without it losing a lot of heat in doing so), this picture is to show how I stacked them in my oven. The smaller sized rounds go on the bottom with a larger one stacked on top. The smaller metal rack fits on the bottom and the bigger one fits on top. This is what works with my sun oven, if the dimensions of yours are different you may need to adjust things.
VERY IMPORTANT: before putting the pizza crusts in to bake remember to spray the bottoms of the large rounds with Pam so that the dough baking underneath, as it rises and cooks, doesn’t stick to the pan above it. Also remember to spray the metal trays where needed.
My sun oven’s preheated temperature was 300 but after opening the lid to put the crusts in it lost some heat and baked steadily thereafter at about 275 degrees.
Allow the crusts to bake for 45 minutes. Remove the two top crusts (they should be done) and leave the remaining crusts in to bake another 10 minutes until the next top round’s crust is done. Repeat until all crusts are done. All together this entire process took me one hour and 20 minutes but depending on your oven’s temperature (my oven temperature was low) you may be done faster.
Preparing the Freeze Dried Cheese
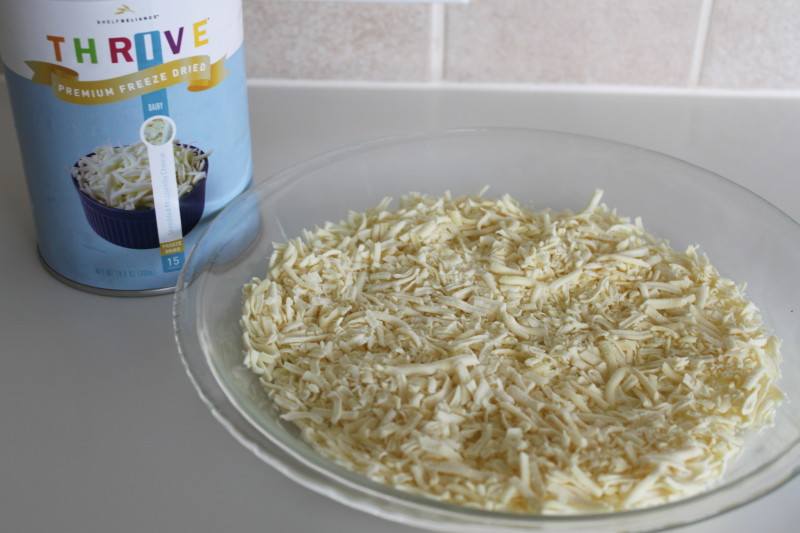
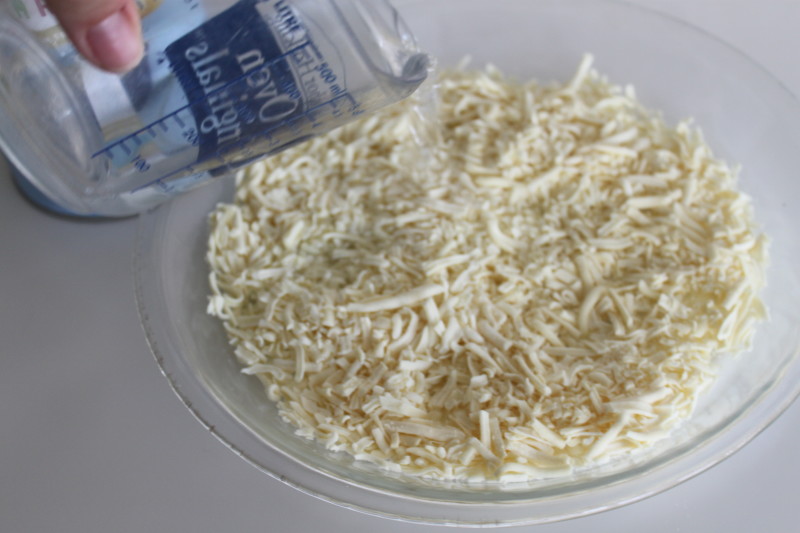
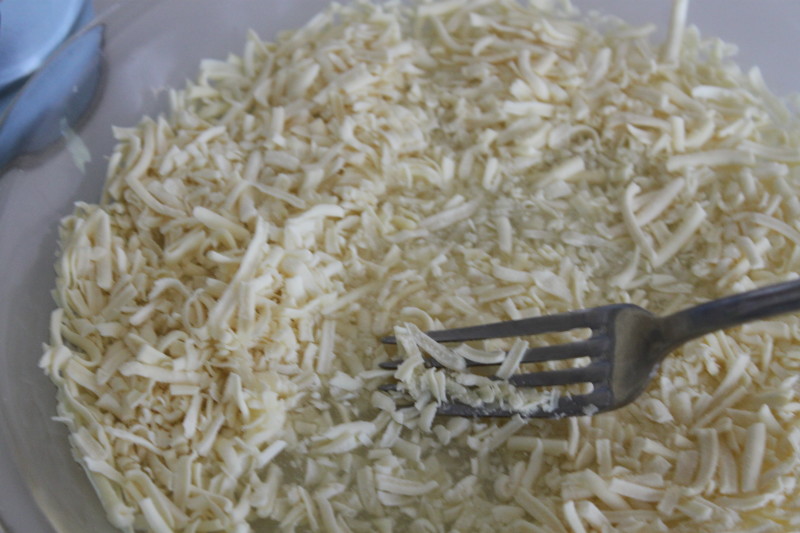
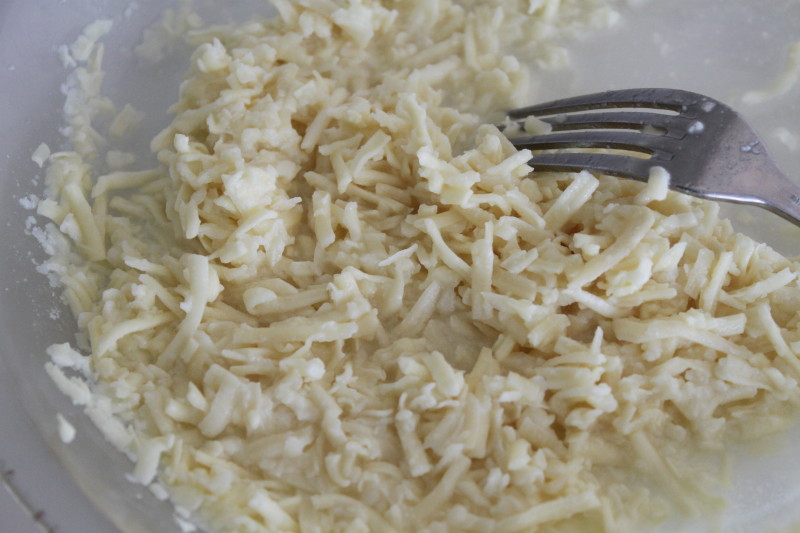
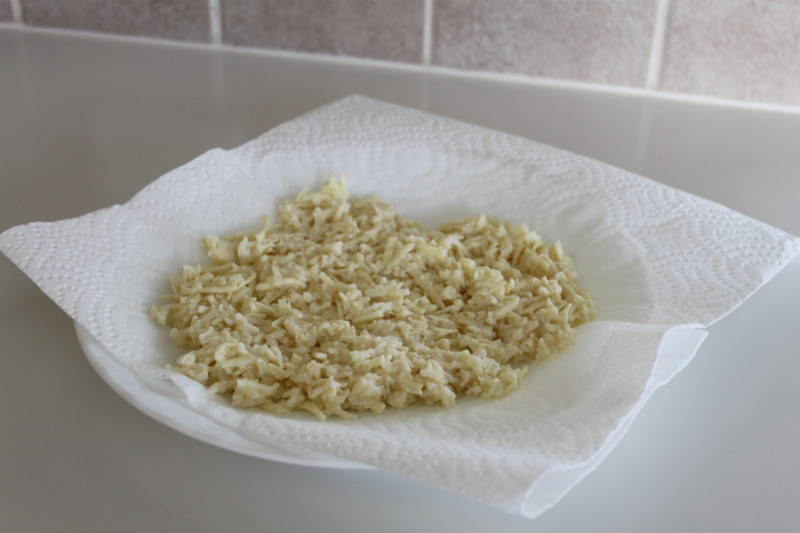
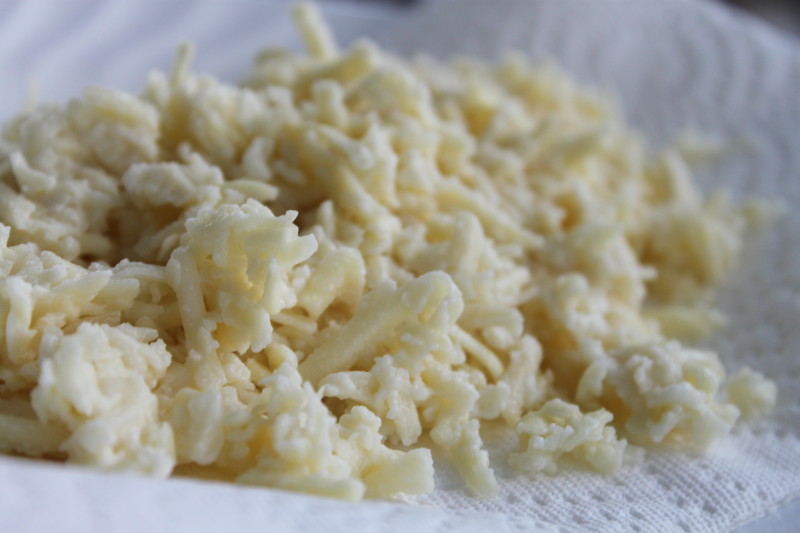
To one cup freeze dried cheese add 1/2 cup of water (*see note). Stir with a fork about 5 minutes until the cheese is all hydrated. Drain excess water. Transfer to a paper towel lined plate and pat with a paper towel until moisture is gone. Fluff with a fork.
Making and baking the Pizzas
Spread sauce and add desired toppings.
Ready to stack!
To stack for baking, remove the bottom of the rounds like this …
First pizza…
Second pizza …
Add a matching rim …
Third pizza …
Into the sun oven! Allow the pizzas to bake 30-45 minutes. Repeat process for remaining 3 pizzas.
Oh yah …our pizza is piping hot and ready to serve! You can see here that the cheese has melted just like regular cheese.
Two People I’ve Never Met Stop By and Have Some Pizza
If there’s one thing I love about Texas it’s that the people here are so friendly! While making the pizza I had a handyman stop by to do some work on the house. He happened to bring his cute wife along with him and after the pizza was done I asked both of them if I could get their honest opinion on the pizza that had been cooking out in my yard. They both said “sure”! Oh, and BTW I also asked if I could take their pictures while they did so (see how nice they are?) ….
They both gave it a thumbs up!! I asked the wife (since we girls can be dead honest with each other) what she honestly thought of it. She said she liked it and that she really liked the crust! (See? I told you it was good!!) Then I asked her if she could tell anything different about the cheese and she said she couldn’t. (BTW–I’d already told her ahead of time about it being made with freeze dried cheese and had shown her what it looked like dry.)
And This is Why I Need to Make Six Pizzas
I came back into the house after my little impromptu taste test to find my four year old whole heartedly digging in. I think this was his second slice.
~~~~~~~~~~~~~~~~~~~~~~~~~~~~~~~~~~~~~~~~~~~~~~~~~~~~~~~~~~
Notes:
- From everything I’ve been told you are supposed to rehydrate freeze dried cheese using COLD water. Since I’m trying as much as possible to simulate using these ingredients under a situation where I might be without electricity (and I don’t think ice would be something easy in that case to come by) I prepared the cheese here using water that was room temperature. The thing you don’t want to do is use warm or hot water or else you’ll end up with a messy ball of cheese.
- I’ve recently been introduced (and really like) the 10.6 oz sized cans of freeze dried cheese that Thrive sells. This recipe uses 2/3 of one of these cans, leaving about a cup and a half of cheese left over. For me this means that I wouldn’t need to worry about an opened #10 can full of expensive cheese that might either spill or not be as fresh when I need it next.
- I used black tart mold pans like these ones found here. Remember in cooking with a sun oven everything you cook with should be black (or atleast as dark as possible) to attract the heat. If you’re wanting to buy these online (via the link) double check before you buy them that they have the removable bottoms. I’m guessing they do. I bought mine inside a Sur La Table store and can’t quite tell from the description they have listed if they’re the exact same.
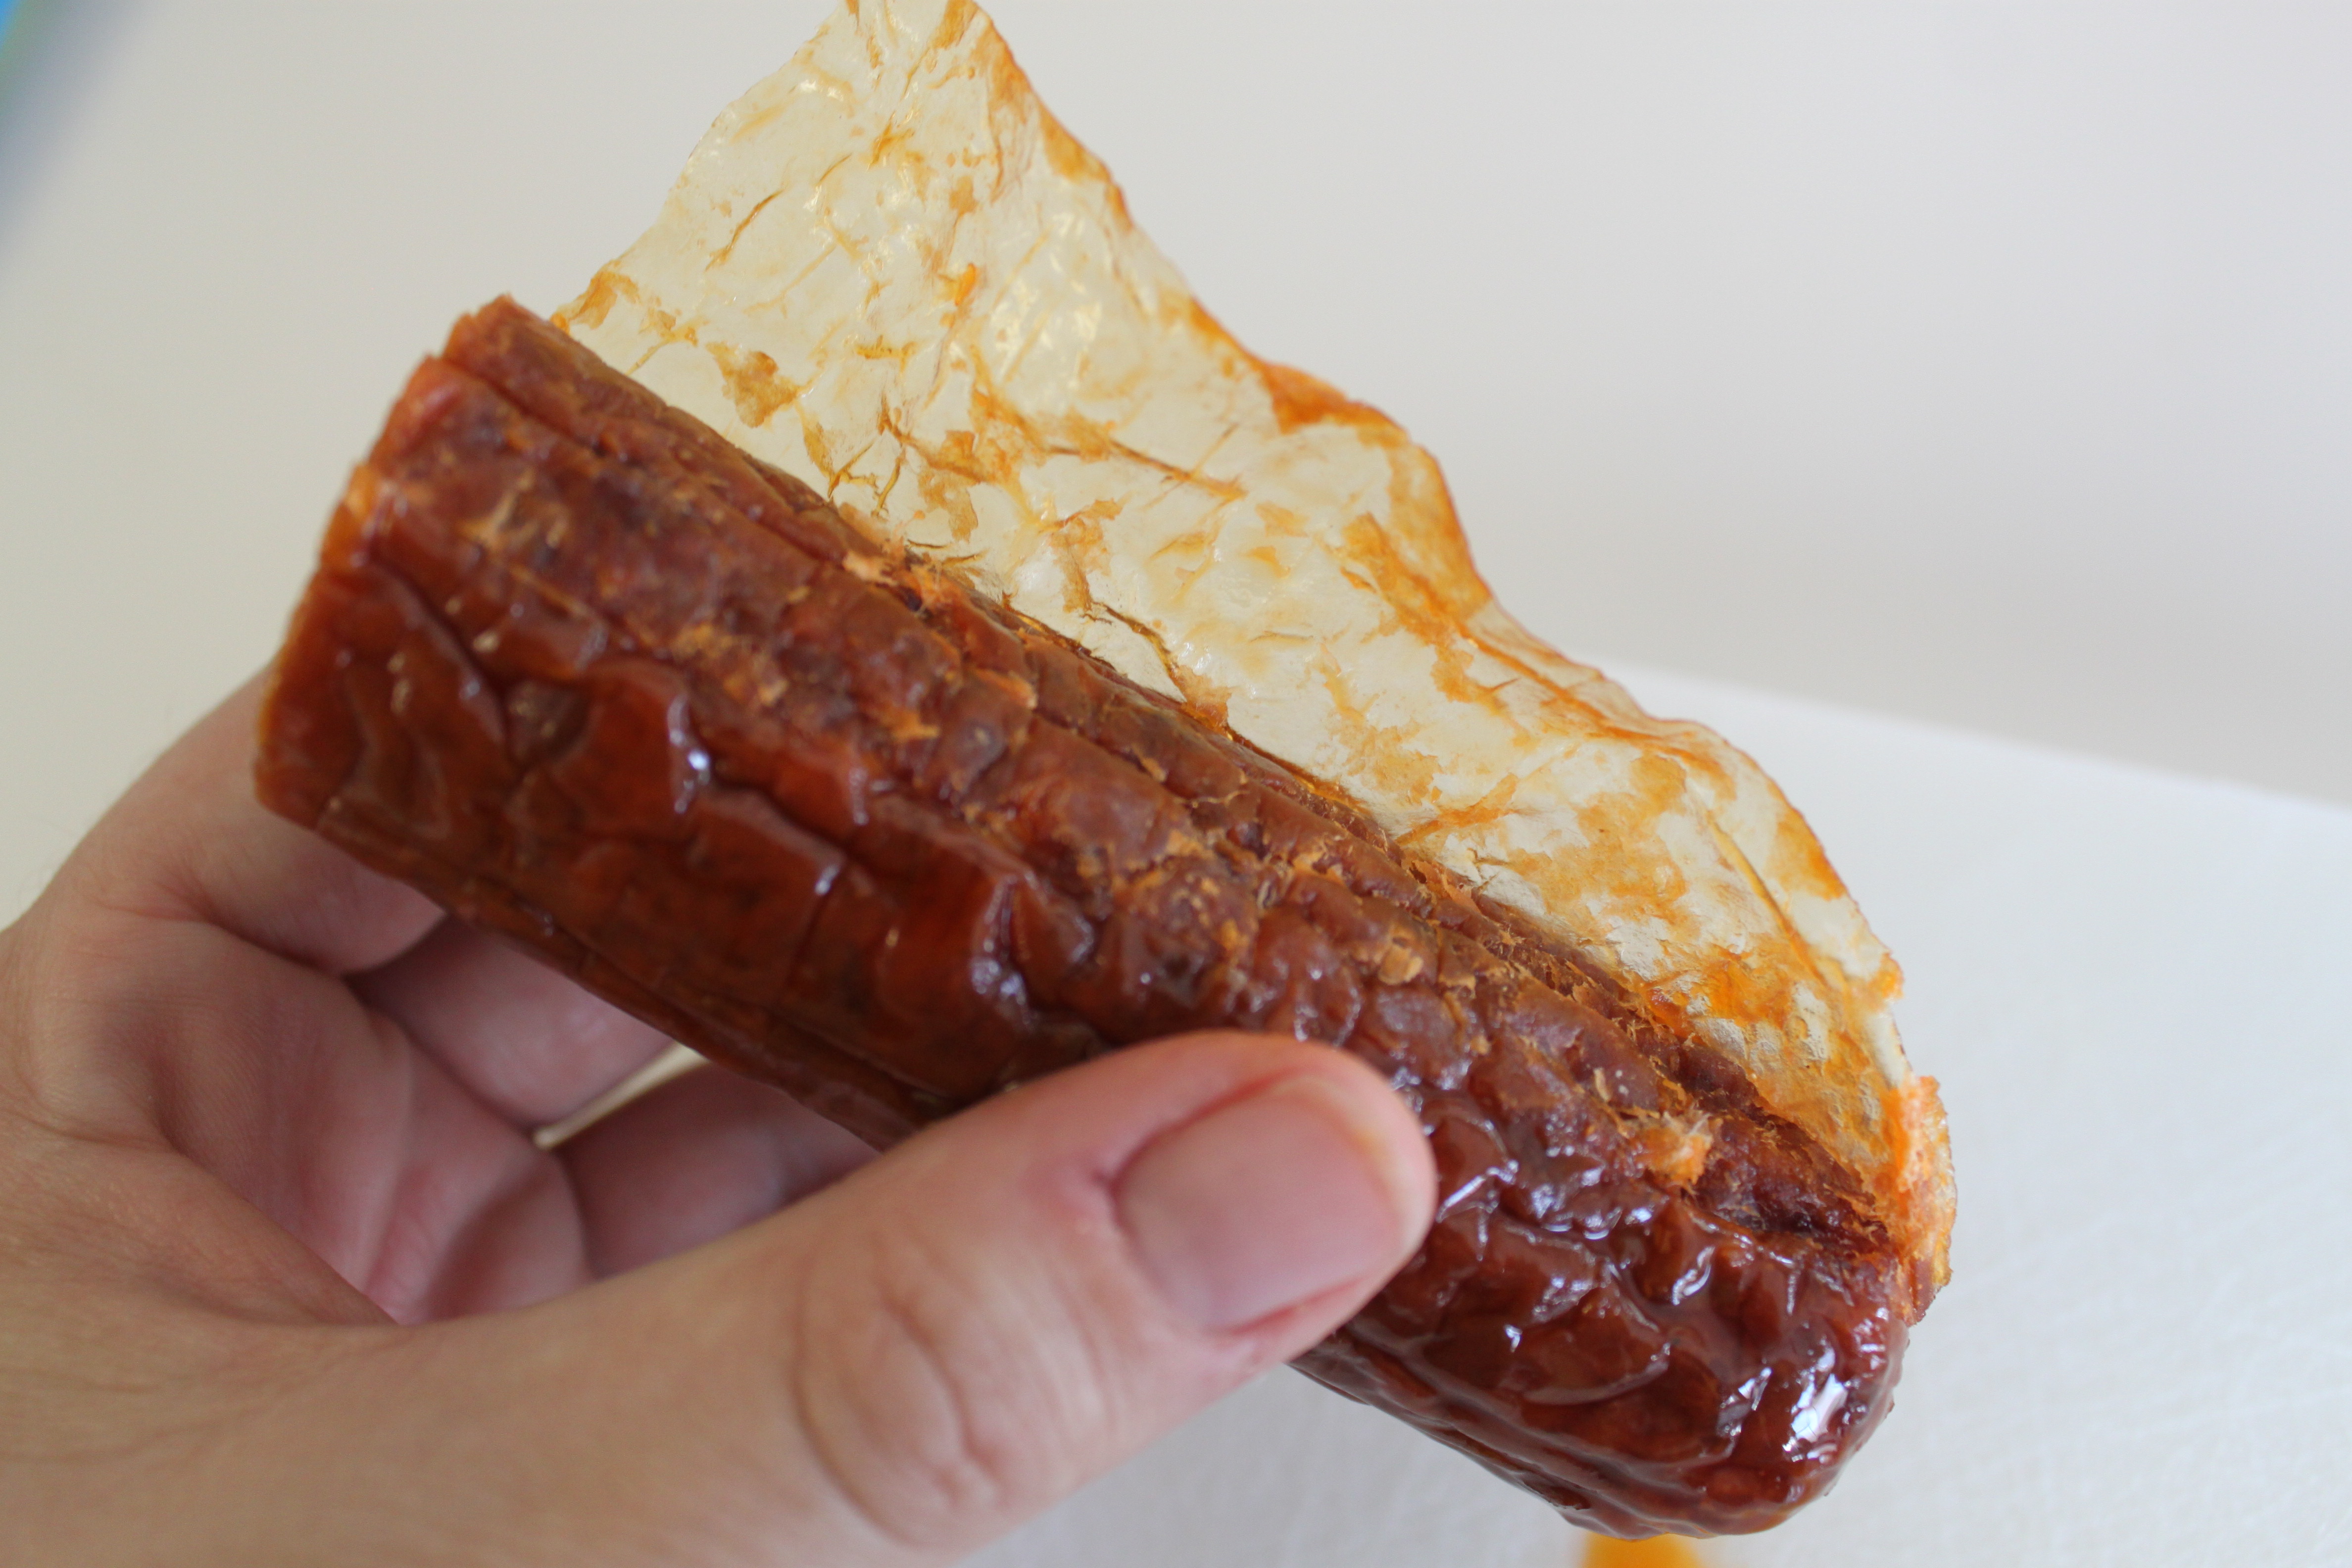
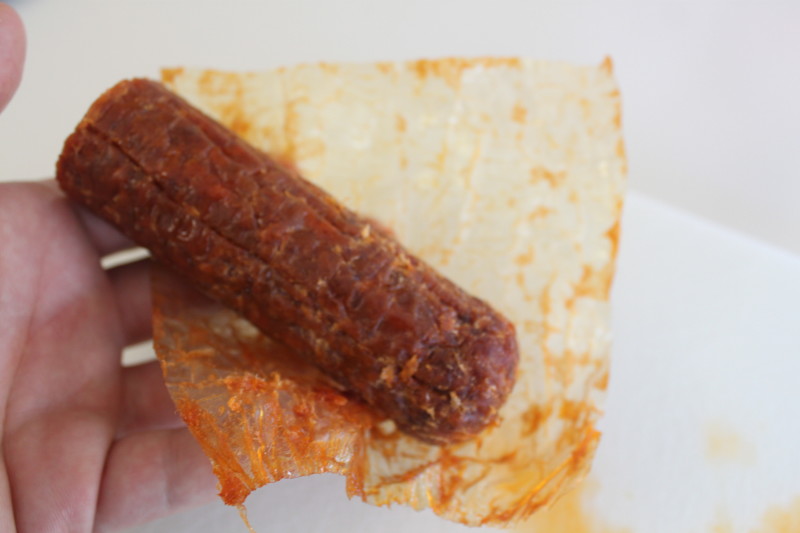
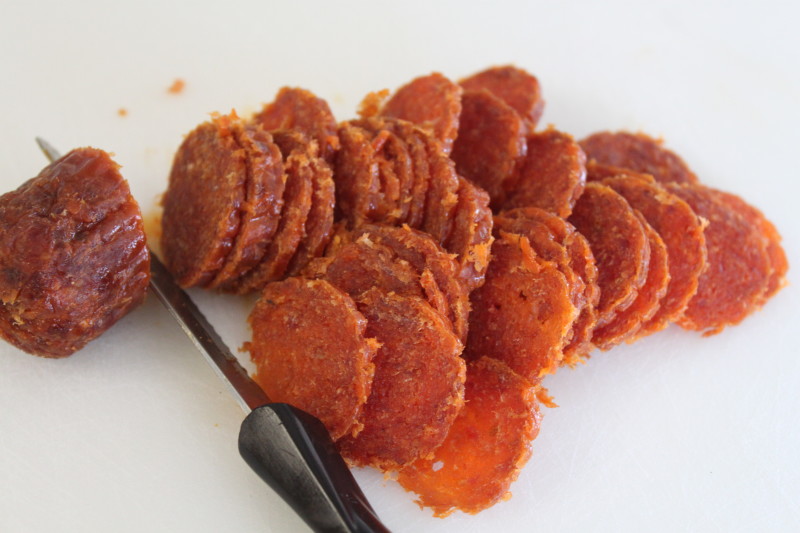
- I store pepperoni sticks that I buy here. They have an 18 month shelf life! Be sure to remove the paper wrapper before use. This is how you prepare the pepperoni before using it:
In my book this recipe is used as a:
*Long Term Recipe
*3 month meal
*Sun Oven meal







[…] Pizza! […]
[…] Baked Taco Shells I tell ya, I felt like life changed for me (kind of like with the pizza epiphany) when I realized that crisp taco shells could be made in my family’s food storage plan. And […]
I haven’t had any issues with the pizza burning on the stone on the woodstove, but I have when I used a splatterware pizza pan (guess the metal is too thin and gets too hot). If you don’t mind square pizza, the cast iron griddle pan also works on the stove or fire pit, but is probably too big for a sun oven. The cast iron or stone both make an extra crispy crust, but I guess a thicker dough would stay a bit chewier.
Tip for folks who don’t have enough time to precook the crust but don’t want soggy centers either — pre-cook any of your moist or greasy toppings first, and drain them so they don’t add too much wet, then Big Tip is not to use commercial *pasta* sauce since it has a lot of water. I started making a *pizza* sauce from tomato powder that is almost the consistency of paste. I figure a cup of sauce per 12-14″ pizza — so that’s 1 cup of water plus 1/2 cup of powder (adjust to your preference), a pinch of sugar to take the bite out, and Italian seasonings to taste. Simmer a few minutes in a saucepan to mellow the tartness a little if you like. Yippee!! No more soggy centers and no busted jars of sauce that I can’t use after an earthquake or when my pantry freezes 🙂
This is awesome!!! I’m completely fascinated by the tartpan stacking- we are totally trying this out! And kids don’t lie, so I’m sure it’s delicious. 🙂
How on earth did you think of this?!?!? It is amazing!!! I am going to go to Sur La Table soon to check those pans out! I would never have thought to do that!! i love your website! My sister and I were just talking yesterday how we love your recipes. There are some that I have read and passed over until I saw them on your website! Thanks for the wonderful information!
Your blog is beautiful, Megan! Love the can of Thrive :). What you wrote is what I tell everyone! Your food storage is only limited by your choice of products – you can get just about ANYTHING freeze dried and make your regular recipes at any time.
Awesome! We’re getting our sun oven this week! I am so excited you got Thrive freeze dried foods! It’s the best tasting stuff out there if you ask me!
Cheers!
Pizzas are AWESOME long term storage meals! Even if all you have is some grated parmesan 🙂 I’m looking forward to trying out the freeze-dried cheese, especially mozz, but I’m still working my way through the second case of Bega canned cheese (which is excellent, even if cheddar-y isn’t pizza normal LOL).
I have an Emile Henry black pizza stone that would probably work wonderfully in a sun oven and would probably really crisp up those crusts. It has two handles on either side, so you could probably configure some sort of rack to stack more than one in the oven at a time too.
Since we don’t have any sunlight (ok, two measly hours) in the winter, we can’t use our solar oven 🙁 And we don’t have an oven at all yet, so we had to figure out how to make our pizza either on top of the woodstove or outside in the firepit (a grill would probably work, too) using our stone and inverting our hugest stainless mixing bowl over the top as the “oven”. We just preheat the stone and bowl and then slide the raw pizza on after it’s all topped up… this works really well since we like really thin pizza’s without a lot of toppings, but you could always pre-cook your crust if you like thicker or gooey-er pizzas. You can do the same thing, one pizza at a time, with a large enough cast iron dutch oven if you preheat it and then stack coals on the lid to bake. Heavy-duty oven mitts are a must… but it’s soooo worth it!
That’s great — the things we won’t do for pizza!! Do you have any problems with the pizza burning? Maybe the stone insulates the heat enough that you don’t? That stone sounds really cool. I didn’t know there were black baking stones out there! Here’s a link (for anyone else who’s interested): http://www.emilehenryusa.com/Pizza-Stone-Black-plu717514.html