One of my goals this month has been to nail down a better method (yielding a better end result) in baking bread using my sun oven. It’s not too much to ask — a browned crust and lovely bread is all I want. After searching the internet for ideas and testing them out (many thanks to Crystal over at Everyday Food Storage for the help I found on her site), I was still having trouble getting my bread to brown. *Ah hah!* After further searching I think I discovered the trick of it … I’ll show it to you!
This recipe (the same one I posted about a month ago — now merged into this post) comes from the book “The Daily Menu Planner” by Joan Day Brady. Besides just tasting good, I like this recipe for the number of loaves it makes and the fact that it’s measurements are easy to remember. Rolls are good made from this recipe too.
Makes 3 large loaves or about 3 dozen rolls
Ingredients:
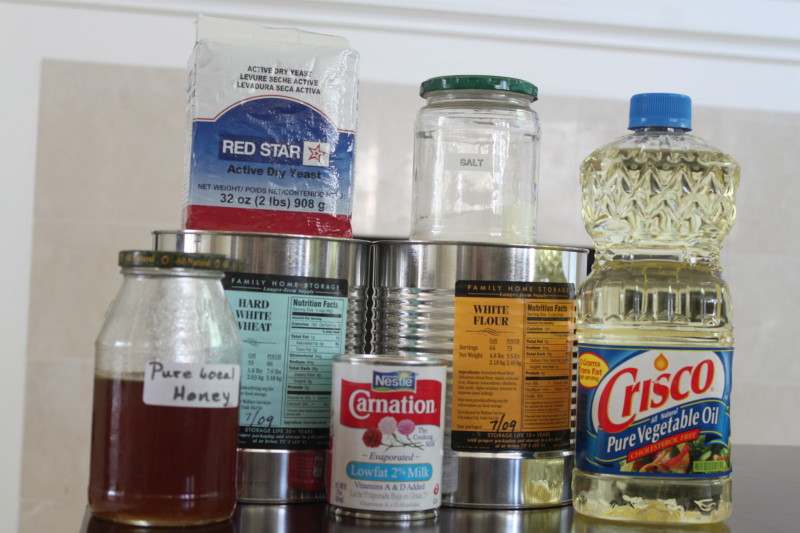
1 can evaporated milk (12 oz.)
1/2 cup vegetable oil
2 TBS yeast
1/2 cup honey
1 TBS salt
5 cups whole wheat flour
5 cups white flour
Instructions:
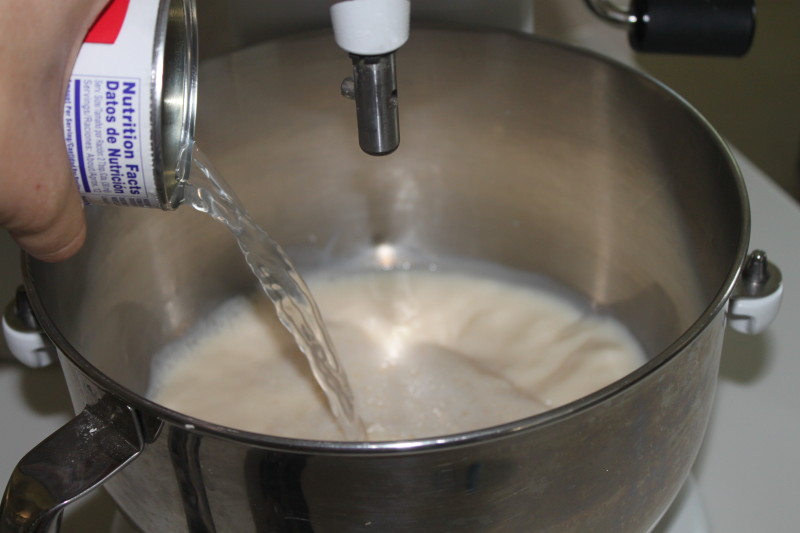
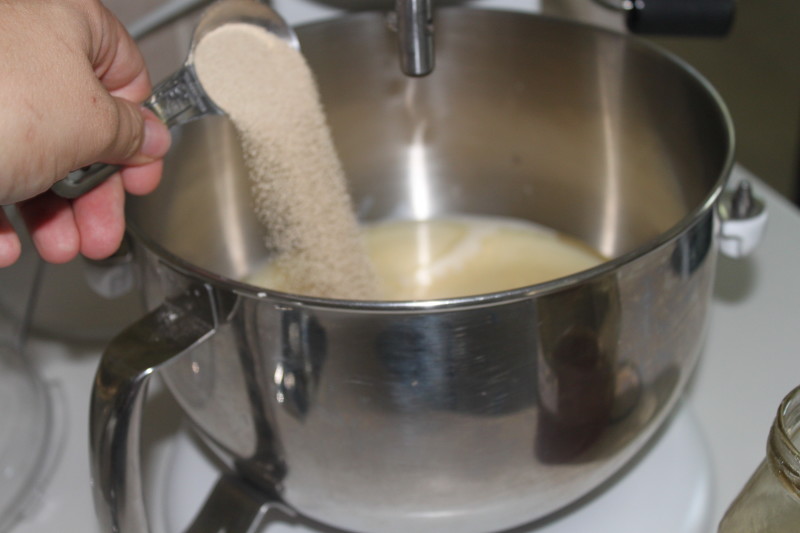
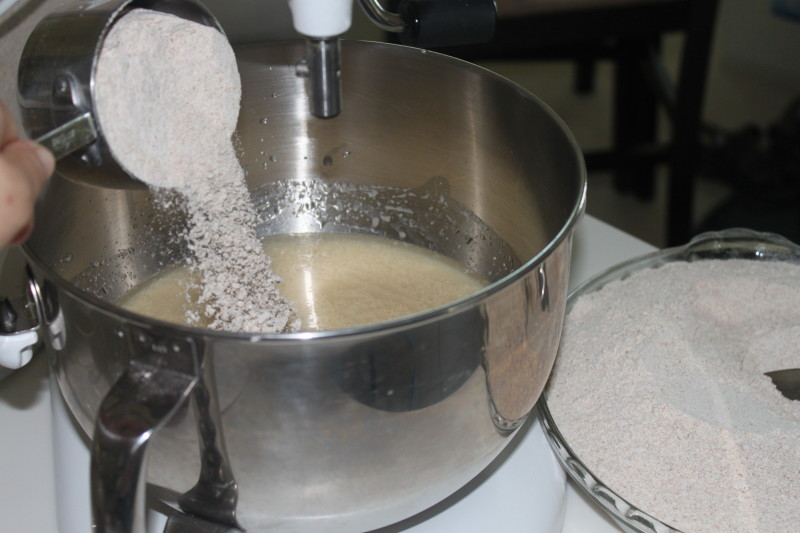
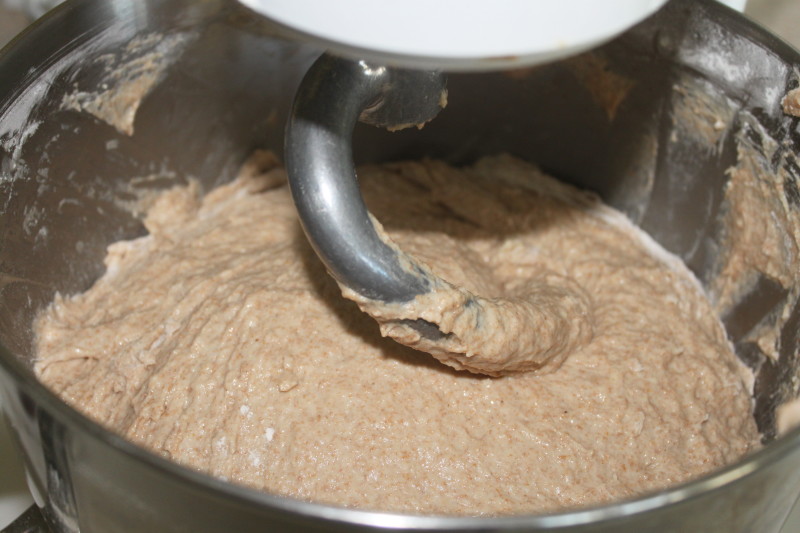
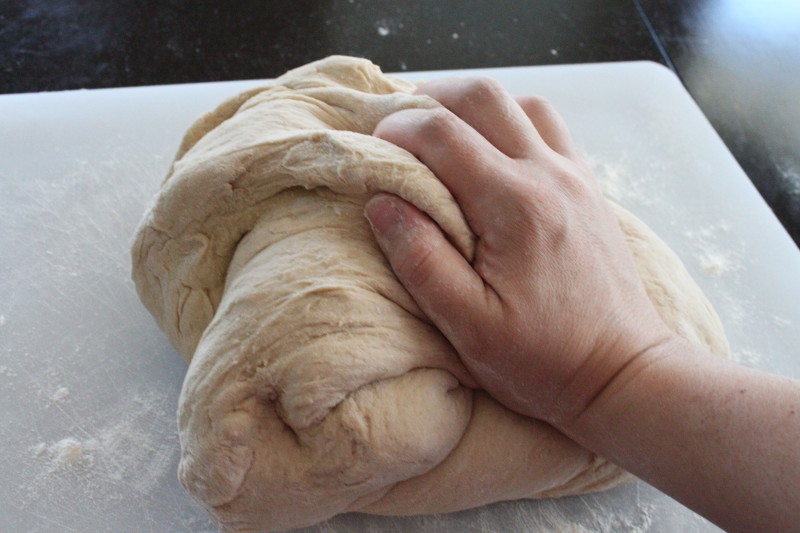
Pour milk into mixing bowl. Fill the can twice with hot water and add to milk. Add oil, yeast, honey and salt. Mix in the whole wheat flour, mixing well after each cup to make a stiff but not dry dough. Next, add in the white flour. Knead until elastic. Let rise until double in bulk. Put into greased pans and rise again until doubled. (In a conventional oven bake at 350 for 20 minutes for rolls and 30 minutes for loaves)
Making the Dough
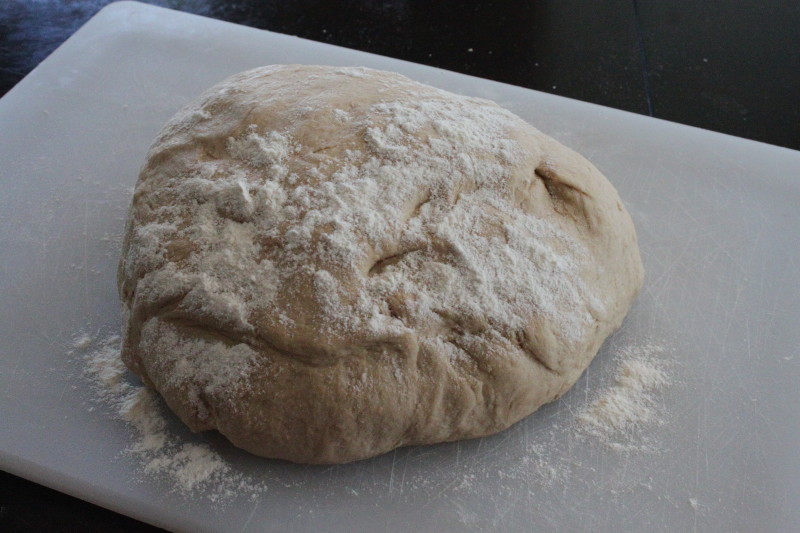
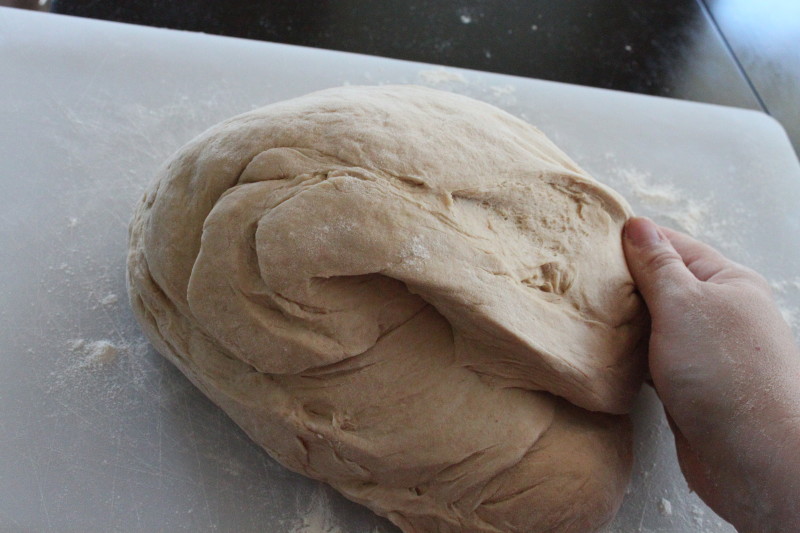
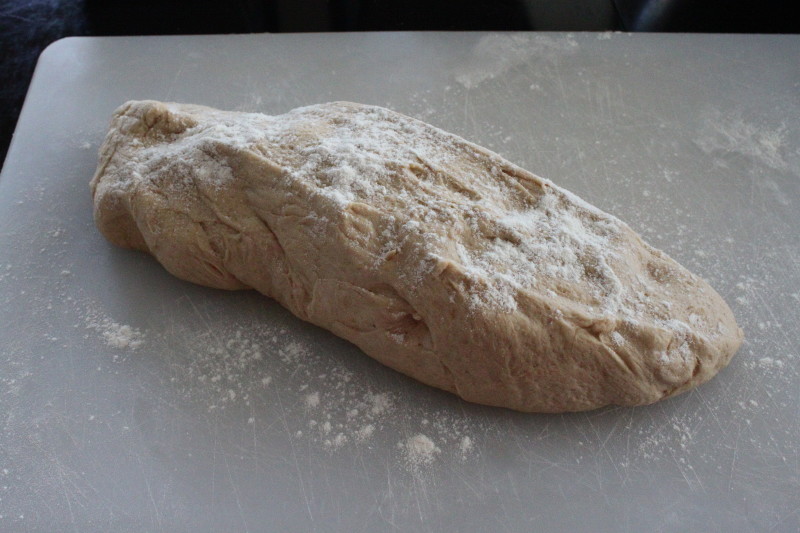
Thanks to Crystal, I realized that my dough had been too moist before — I needed to add more flour so that it wasn’t sticky to work with. I added 1 1/2 cups more flour in the mixer (this is on top of the 10 cups the recipe calls for) and then I turned out my dough and kneaded in probably another 1/2 cup or so.
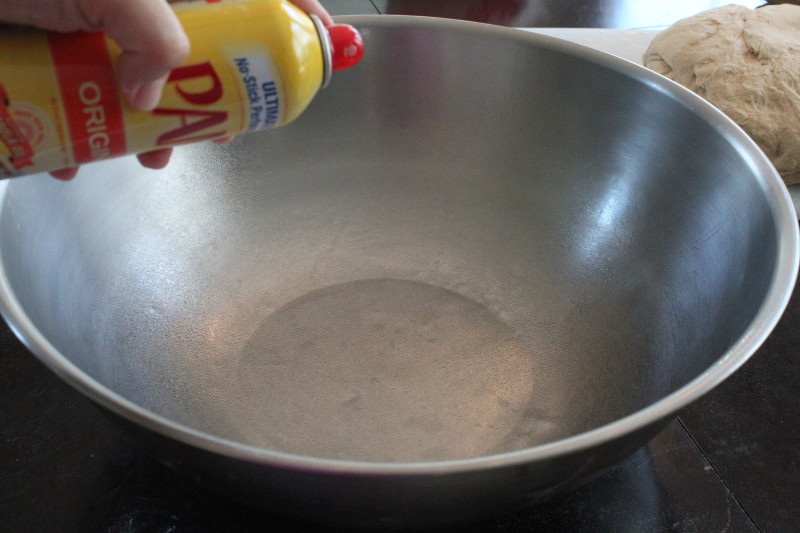
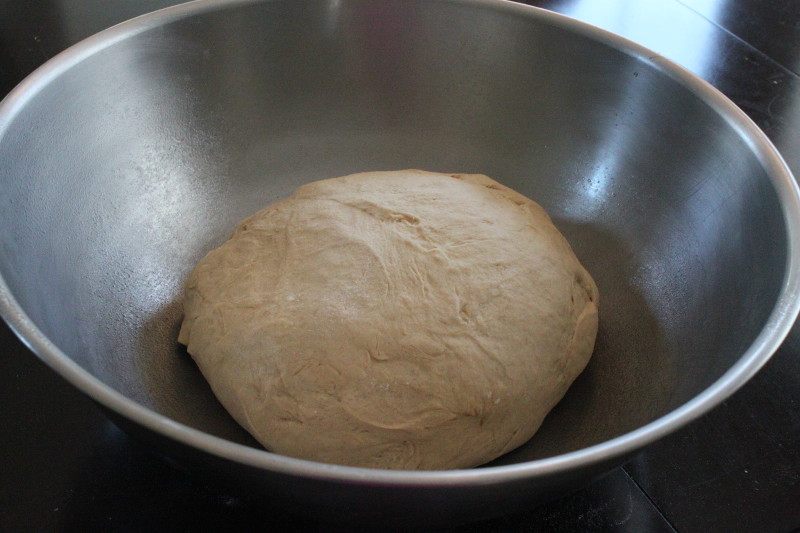
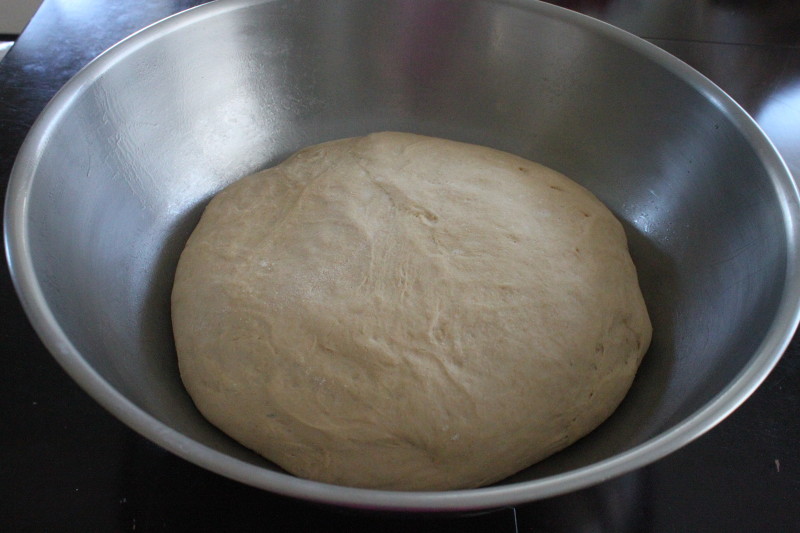
Next, I put the dough into a large greased bowl to rise.
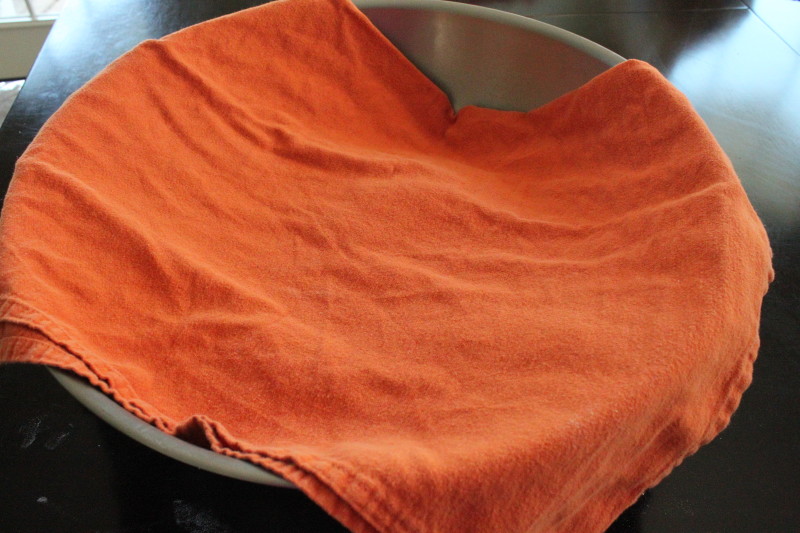
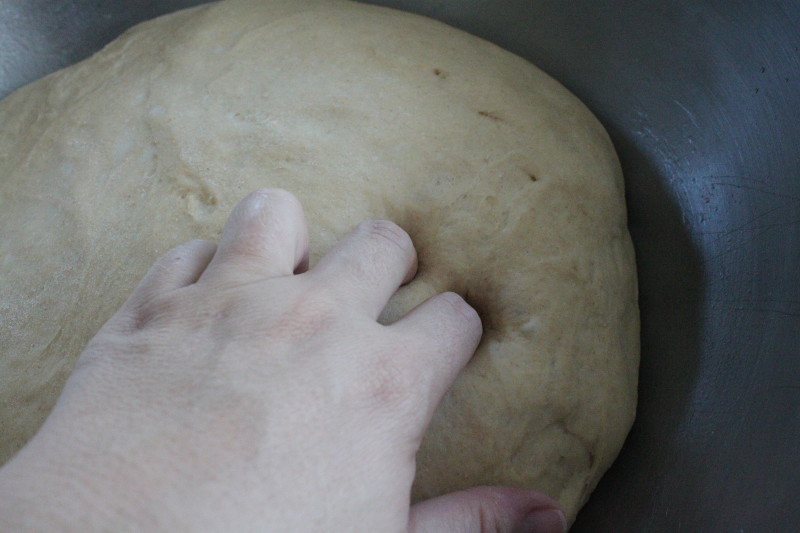
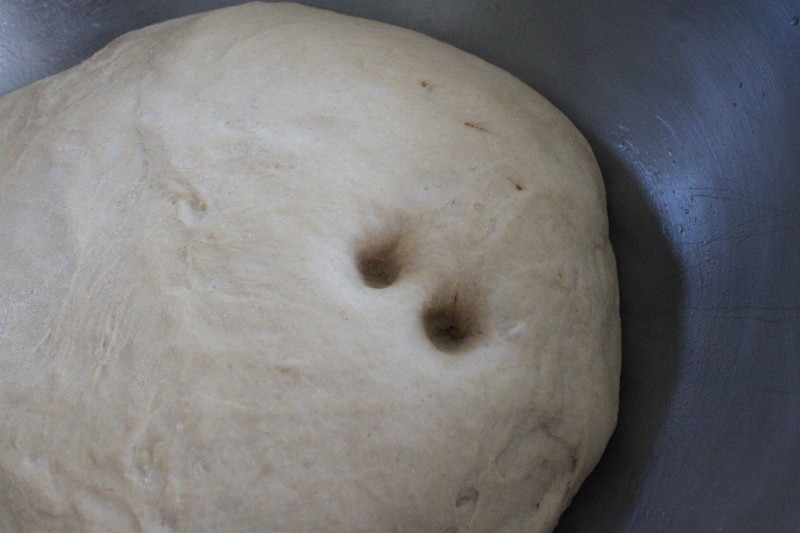
You’ll know whether your dough is sufficiently risen if you can put a finger (or two) into the dough and the indentation stays.
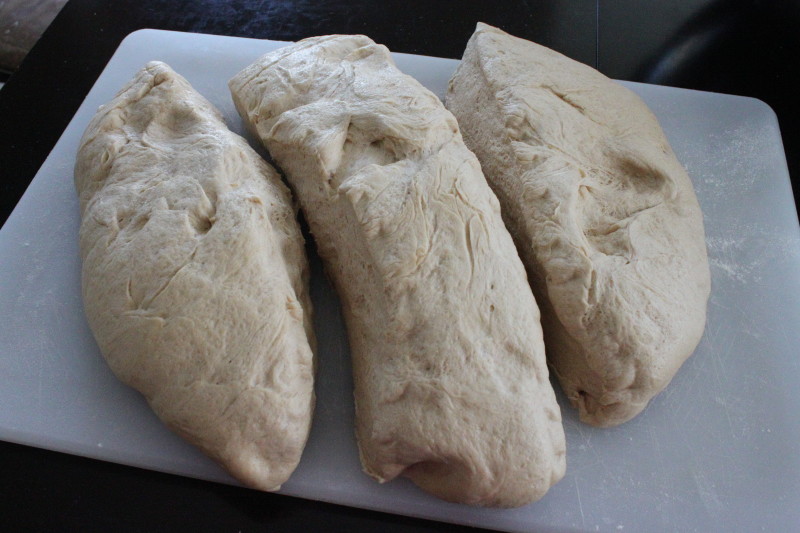
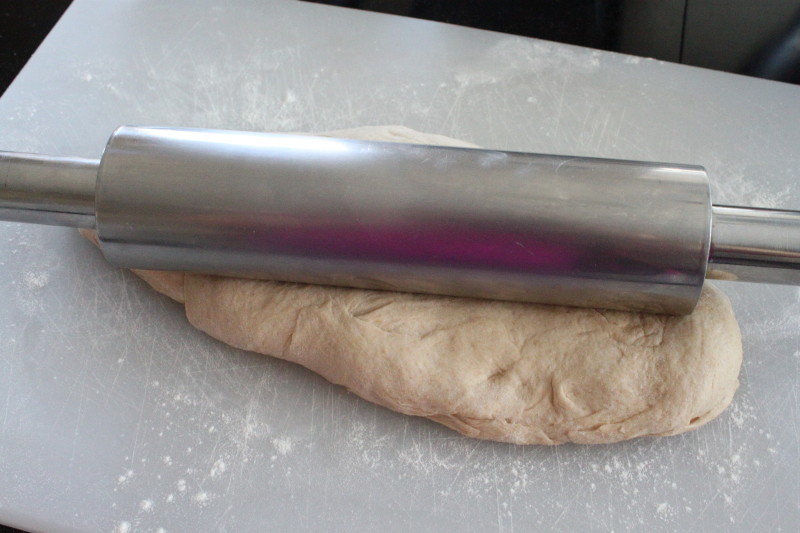
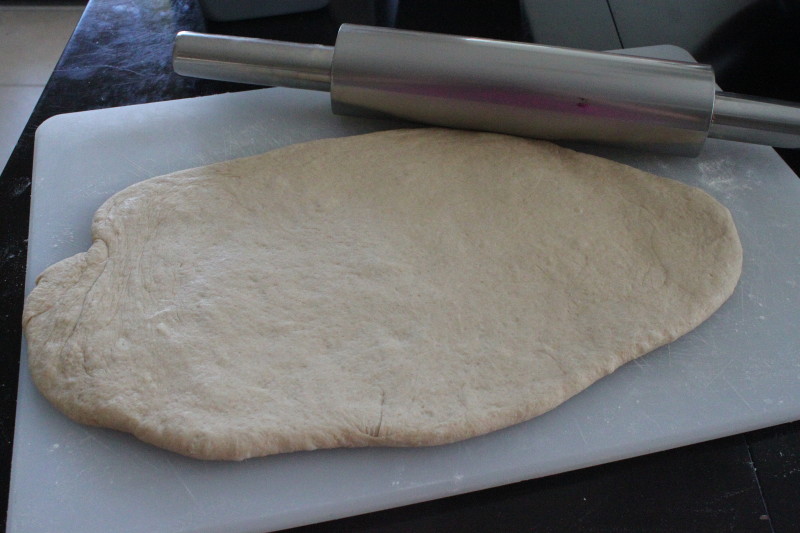
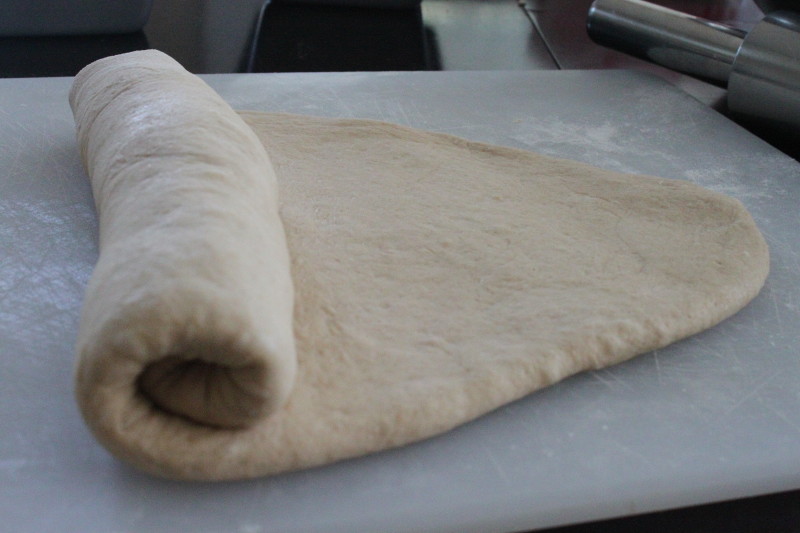
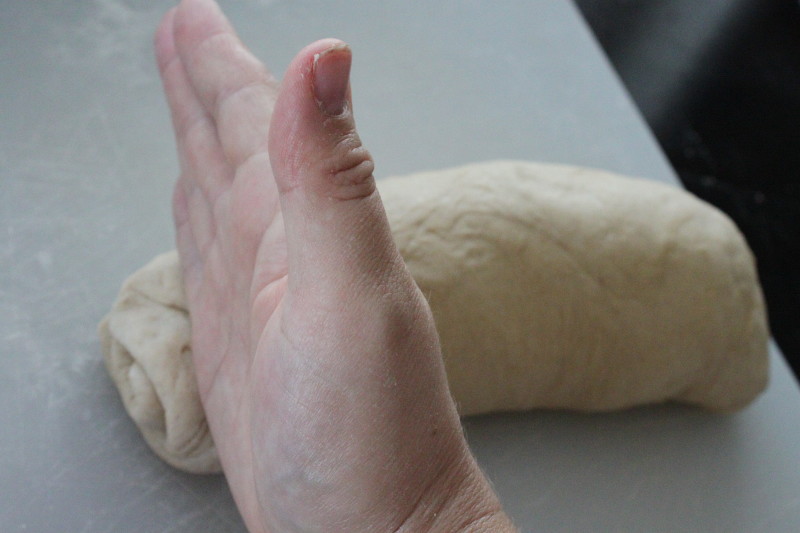
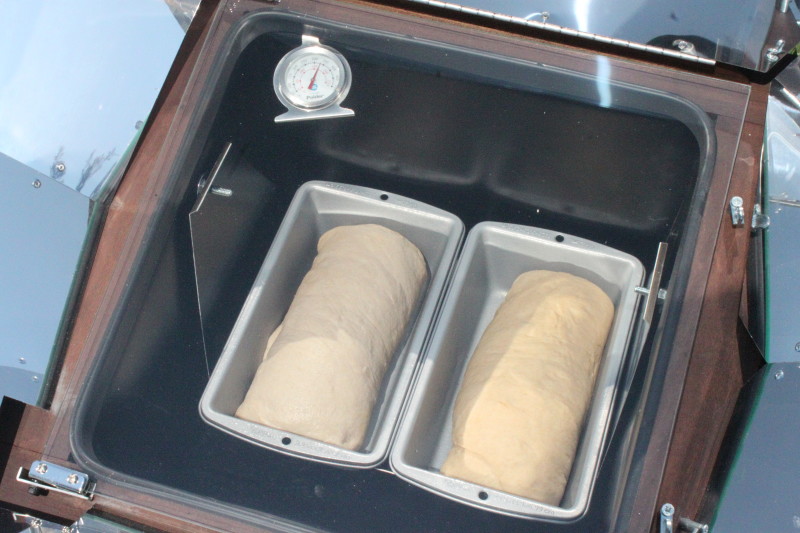
This recipe makes 3 loaves so I divided the dough into thirds. With each portion I rolled it into a rectangle and then rolled it up into a log. This helps in getting rid of any air pockets in the dough. Pinch and seal the seam.
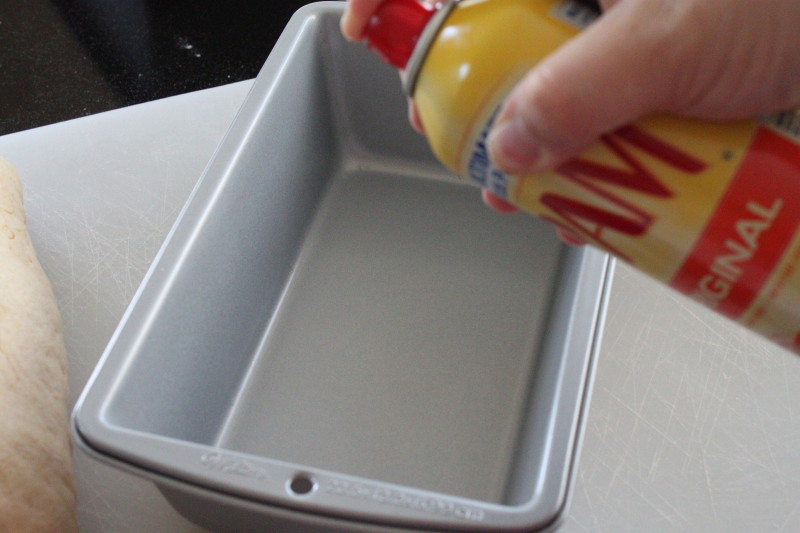
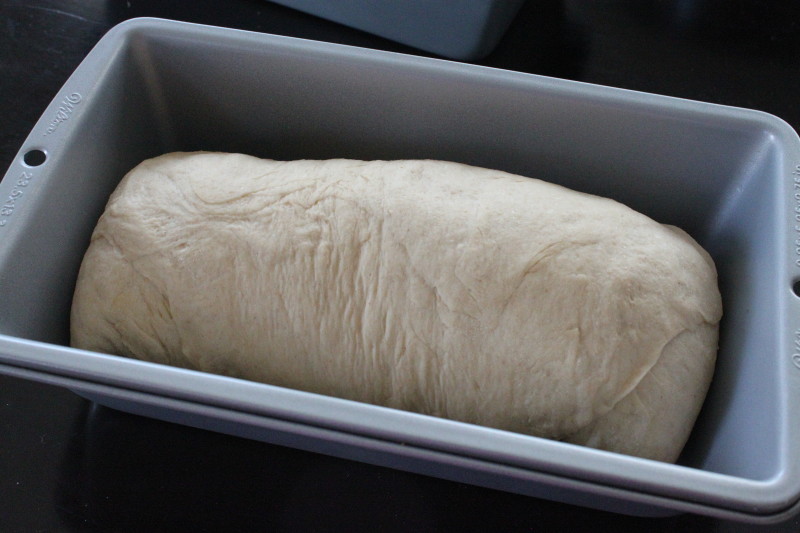
To shape the ends I chopped each end with my hand and folded the dough up underneath. Place each log of dough into a greased bread pan.
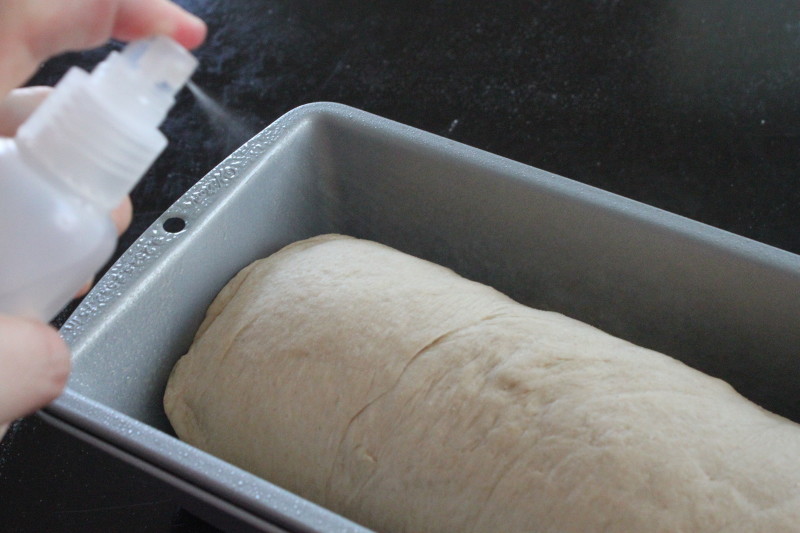
In one of my tests I thought that perhaps spritzing the dough with water was what was keeping my bread from browning…not so. Spritz away — it’ll help your bread from drying out as it cooks.
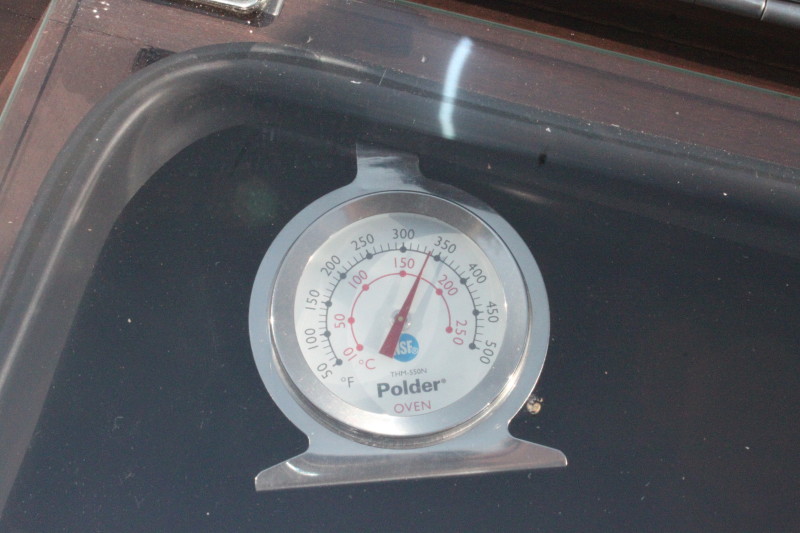
Do not allow bread to rise — take it directly to the preheated sun oven. Also, morning sun is hotter than afternoon sun. Bake bread mid morning if you can.
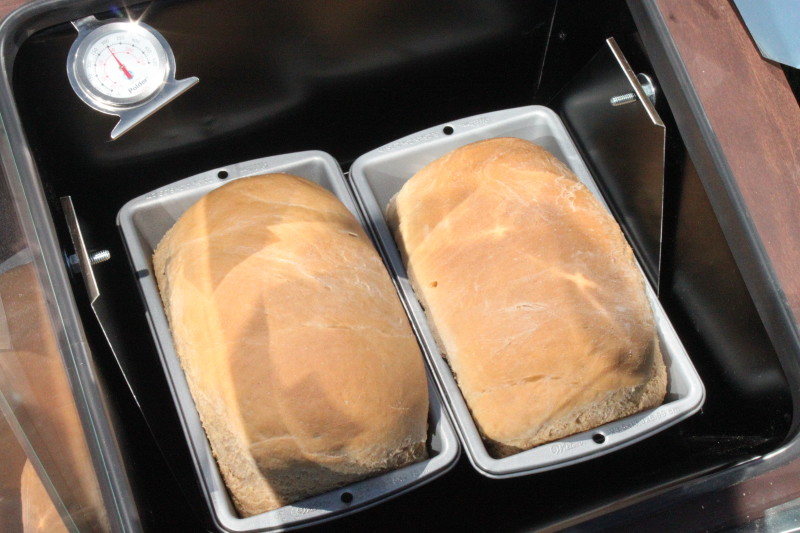
So that you’re bread will brown (*this is the key*) — do not clasp the oven pegs closed. This allows the steam to escape and the bread to brown.
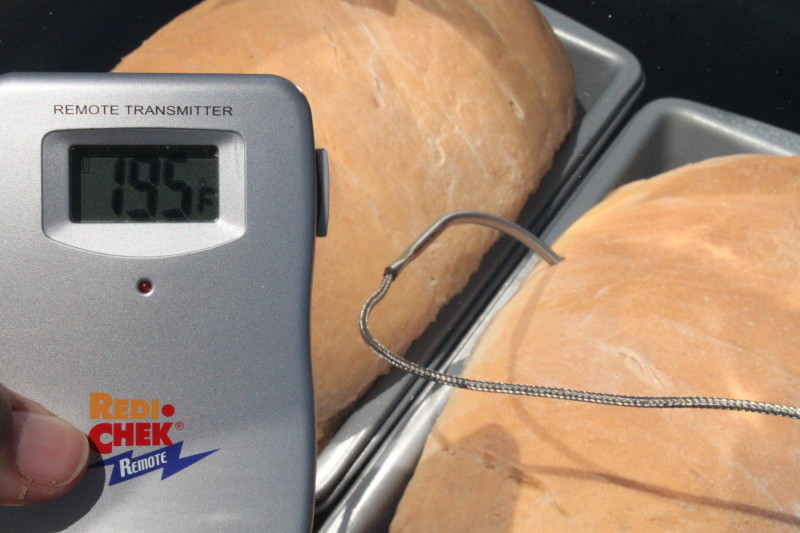
The loaves baked for 90 minutes. At that point I tested the bread’s temperature using my digital thermometer — opinions I read told me that the temperature needed to be 180 degrees while others said 190.
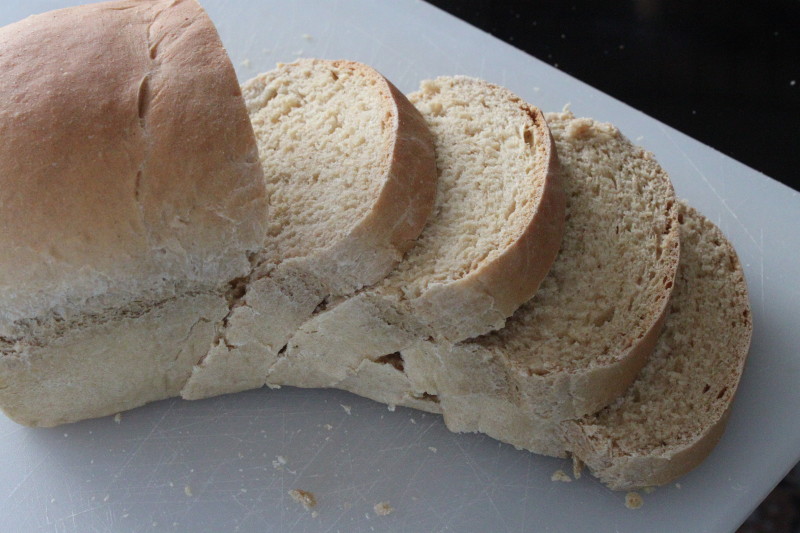
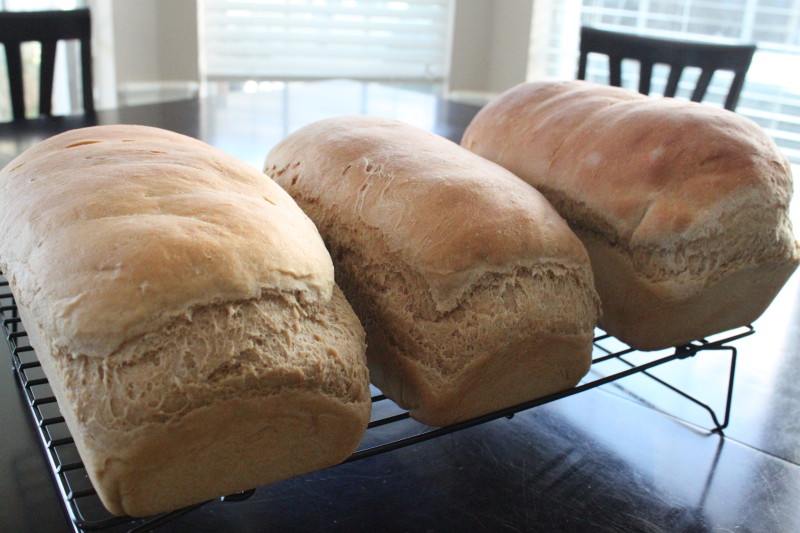
To compare, I baked the loaf on the right in my conventional oven. The two loaves on the left were baked in the sun oven. Now I’m happy!
This bread — I have to say — is some of the best I’ve ever had! Probably most of it has to do with the two week journey of finding another way to successfully bake it. It’s been worth it– I feel secure knowing I can bake bread for my family using the sun, something that will continue to be around even if electricity is not.
~~~~~~~~~~~~~~~~~~~~~~~~~~~~~~~~~~~~~~~~~~~~~~~~~~~~~~~~~~~~~~~~~~~~~~~~~~~~~~~~~~~~~~~~~~~~~
Notes:
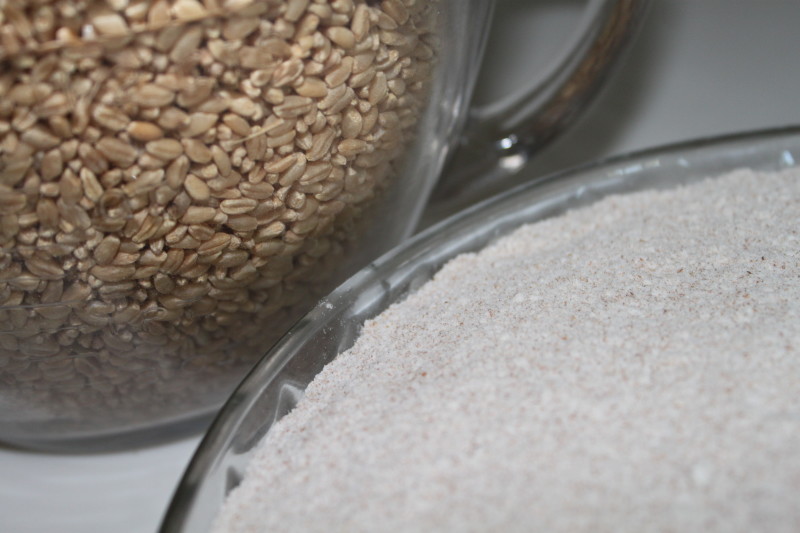
- Whole wheat flour can only last, when kept cool and dry, 5 months before going rancid due to oils in the wheat kernal. For this reason it’s best stored long term in it’s whole kernal form and ground into flour as needed.
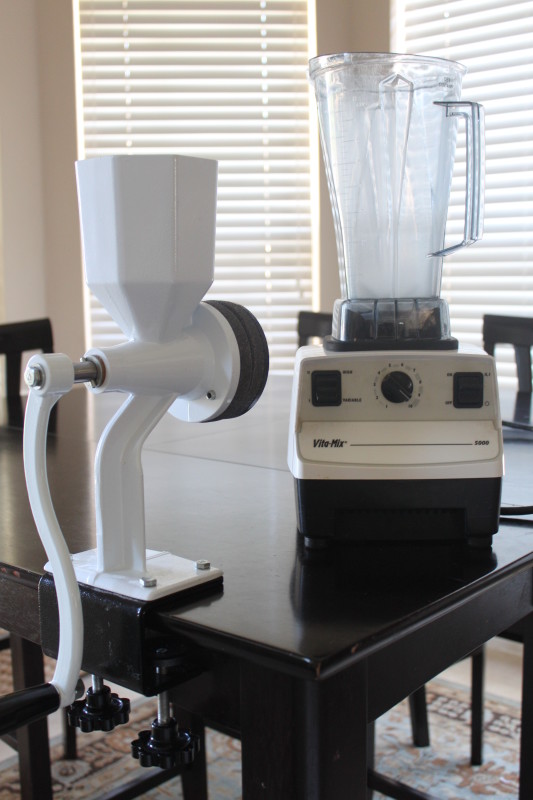
- For everyday use, I usually grind an entire #10 can of wheat into flour at a time and store it in the freezer until I need it. I use my Vitamix blender (using the dry container) to grind it, but I have a hand grinder just in case I need to grind wheat without electricity. I love the hand grinder I have, it’s a Wondermill Jr. Deluxe model — it was one of the highest rated and easiest to use that I found when I went shopping for one. If you’re interested you can find it to buy here. That said, we’ve practiced using it since buying it and even though it’s a really good model it still takes a very long time to grind the wheat into the amount of flour you need, reminding us (once again) how grateful we are for electricity. I suppose if I were in the situation where I had no choice but to use it I would be grateful for anything if it meant I had a way to feed my family, but I’d need to devote a big chunk of time (or else line my kids up taking turns) to keep up with grinding the flour.
**this recipe has not yet been added to the recipe index. Look for it there soon!



[…] just make loaves of bread, here’s a recipe and method from My Food Storage Cookbook – please click here. Just for kicks and if you’re not in the mood for lasagna, here’s her pizza […]
We do not use vegetable oil in our house. Can I substitute coconut or olive oil?
Thanks
Sure. I’ve actually made the switch myself over the last year or so. Either one works the same.
>Do not allow bread to rise
Hello. Could you explain why?
It’s because the bread will rise just right as it bakes in the sun oven. If you allow it to rise prior to putting it in, it likely will “over rise” and spill over your bread container. Cooking with a sun oven is different than what you’re used to both in the “way” it bakes things as well as the fact that it always requires a longer baking time than with a conventional oven. I hope that helps. Thanks for the question!
[…] 4– Homemade Bread made in a Sun Oven […]
Appreciating the hard work you put into your blog and in depth information you offer.
It’s great to come across a blog every once in a while that isn’t the same old rehashed information.
Wonderful read! I’ve saved your site and I’m adding your RSS
feeds to my Google account.
Thank you for your comment! Most of what I do is definitely “outside the box” but the truth is that it works.
[…] Baking Bread in a Sun Oven Another “how-to” that (IMO) everyone needs and I’m glad it looks like […]
I was reading about the Wondermill Jr Deluxe and how it can be used for many other things besides wheat into flour. I have a lot of groats but I’m not sure how to grind them. Don’t they have to be steel cut? Would the Wondermill Jr Deluxe be able to do that or do I have to buy a special attachment for that?
Thanks so much for sharing with us. I love your website!
Claudia
Thanks for the question, Claudia, give me a couple days and I’ll get back with you on it after I ask to be sure that what I’m thinking is right. I don’t think they have to be steel cut and I’m nearly 100% sure the Wondermill Jr. Deluxe can handle it — my guess is that you probably already have what you need to do it between the two burr heads the grinder comes with. But just to be sure, (I’ve never ground groats before) let me talk to an expert who knows and get back with you. Thanks again! I’m so glad you’ve been following here!
My friend made this bread for an activity at Church, and was the best bread ever!!
Thanks for the note! I think it is too! The sun oven makes it esp. good.
I only make bread in my sun oven now because it comes out so moist and yummy! I let my bread rise until it is just over the top of the pan, mist it with water and bake (with the door closed tight) for about 30 minutes if the temp is 350. These are instructions from Paul Munsen, the president of Sun Ovens, from a class I went to from him. I have had it come out everytime!! The only time I had the bread fall was when I forgot to move the oven into the sun when it got in the shade. The misting of the bread is what makes it brown, not the opening of the door. When the window gets foggy with moisture is when the food is usually done. It is so fun to cook in the sun oven. Glad you got your bread to work!!
Hmmm….I tried doing it that way but I couldn’t get it to brown (maybe I did something wrong?). Also I did try cooking one batch without misting it (with the door not locked) and it browned anyway but it was dry. Who knows, I’m still learning what works and what doesn’t. I’ll try decreasing my bake time now that you’ve said that yours bakes in 30 minutes — good to know. Thanks so much Julene!
I have noticed that the last couple of weeks I have had to use the back leg to raise the sun oven to get the shadow in the front of the oven to be level with the sun oven. The sun is not as directly over head and my oven isn’t getting as hot now. I also try to make my bread in the mid-morning hours to get the hottest sun right now. If my oven goes below 250 the bread doesn’t seem to get as brown as at a hotter temp. Who knows though? My bread is different every time I make it so is using the sun oven. Here is a link to the recipe that I use. I got it from the manager at Honeyville Grain and it has worked so great for me. I had almost given up on making bread until I found this one. http://preparetodaywardnewsletter.blogspot.com/2011/04/cooking-with-your-storage.html
It is all whole wheat and comes out so light and airy. Even my non-wheat liker ate it.
Awesome! I’ll be excited to try it! I’ve been looking for a not so heavy 100% wheat recipe for a while. Thanks for sharing!
I finally had a chance to try this recipe today. SUCCESS!!!! Absolutely wonderful bread! Very easy to make and the ingredients are things I always have on hand – except the canned milk but I think that will now be a staple.
I baked 2 loaves in my regular oven and 1 loaf in my sun oven. I actually think the bread from the sun oven tastes the best.
I am so happy to have a bread recipe that works well for sandwiches AND cooks well in the sun oven. Thank you SO MUCH for sharing!!
Hi to you too, neighbor! This is Debbie (from FoodStorageAndBeyond.com). Thanks for stopping in and saying hi! I saw your site link and just had to come check you out too! I love what you’ve got going on here. And these are awesome tips for baking bread in a sun oven! I have attempted regular bread once in my sun oven and it wasn’t the hugest success (but that was mostly my own fault because I was so distracted during the day and kept letting the bread over rise, etc.) I’m excited to try it again using your recipe and tips. Awesome! Thanks for sharing. 🙂
Debbie — we’ll definitely have to get together sometime. Thanks for stopping over!
Stumbled into this web site by chance but I’m sure glad I clicked on that link. You genuinely answered all of the questions I’ve been dying to answer for some time now. Will really come back for additional of this. Thank you so much
Looks WONDERFUL!
This is amazing! The bread is beautiful – can I be your neighbor :)?