
Earlier this week I read about a man’s experience following Hurricane Katrina on Facebook. He talked about the importance of good tasting meals to morale during a time of crisis. After this, I’ve got 9 meal ideas to pass along, so the meals in your family’s 72 hour kit will taste good!
Here’s the question he was asked and his answer:
Q: Did your food supplies last as long as you expected and what changes to your inventory would you have made?
A: Food quantity was not a problem since I had been laying in supplies for my family plus 2 and at any given time I had fewer people than I allowed for in the provisioning plan. The taste quality of the food I had on hand was the real morale killer though. So while we did not starve we did give away a lot of the MREs but kept the canned and dry stuff for our consumption. Also the heat killed your desire to eat and between the taste and the heat we had plenty of food! Safe drinking water was in short supply though!
Lesson: the food you’re storing now (if it’s good quality and tastes good) has the potential to improve the morale, mood and outlook of an already bad situation in addition to feeding your loved ones. Oppositely, if you plan to eat food you’ve never tried and which otherwise you’d never eat, you may have food to eat but it’ll be like adding another brick to your burdens if you have to eat it.
So let’s plan ahead now to have meals in our 72 hour kits that taste good!
Also, he mentioned the shortage of clean water. For any of you who don’t already have a water treatment kit with your preparedness gear, a water treatment kit like this one may be something to look into.
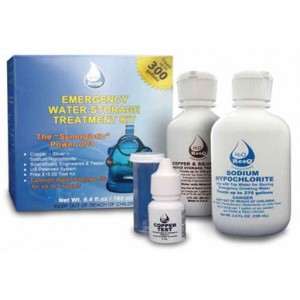
**
Pantry Meals
Within my convenience meals (Pantry Meals) there are some that still require a moderate amount of prep and some that are really easy to make. The recipes I share today, recommended for 72 hour kits, are the easiest of these meals. They’re easy to make and still taste good.
How I store them…
A pantry meal is a meal that’s packed to be convenient ahead of time. The ingredients (including spices) have been pre-measured and everything is stored together as a meal. They can be stored in a box as I’ve done (because they stack nicely) or in a bag. You get the idea.
I bought my boxes at a ‘Container Store’ in my area but if you don’t have one where you live try looking for them at a box or shipping store. Also, with a quick search online (meaning I haven’t done a lot of checking on this) I found this online vendor (link here). The size shown here is 10 x 6 x 4.

A peek inside my pantry closet…
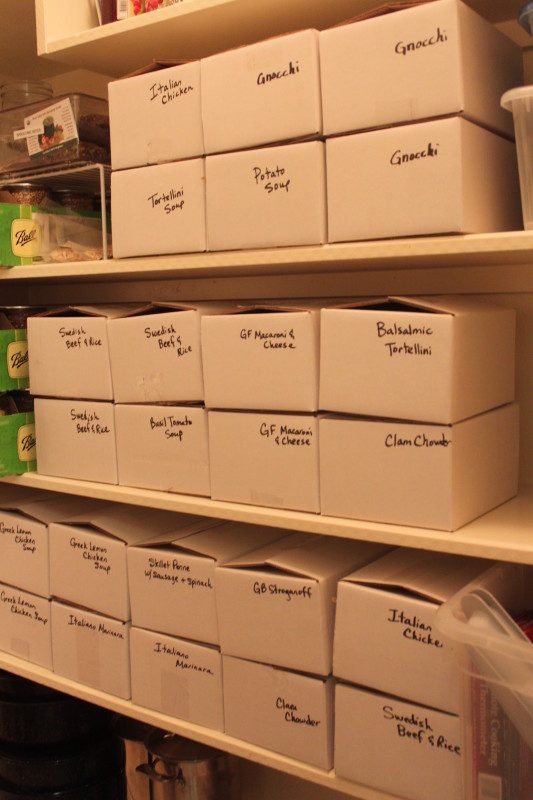
How to haul them if we had to evacuate?
Our family has invested in this large carrier bag (by Mountain Smith). A second bag carries our other supplies and yet another bag carries the family’s change of clothes. I love that it has separate modules which could be carried separately if needed, as well as a larger bag with multiple handles. 
Unfortunately, this bag isn’t available anymore, but here’s a similar idea from REI. If you wanted to put together a similar system ‘a la carte’, you might look at a large IKEA FRAKTA zipper bag with packing cubes (such as these, just as an example).
Now I want to share with you 9 Meal Options for your 72 hour kit! All of these recipes have been reviewed and family / reader approved.
These meals are purely “ingredients + butane stove + a pot” type of recipes. The prep work is as simple as it gets — no special steps, no timing, etc.– just “dump, stir and heat”. For a 72 hour kit, we want to be able to practically make these meals in our sleep since we could be going through shock ourselves if needing to make them.
Included are two favorites from Jan Jackson’s book “100 Day Pantry” as well as one recipe kindly shared with me by a reader.
Add to these a few “just add water” Mountain House meals (or try this brand, which I had reviewed by a bunch of boy scouts) and you’ll have a solid set of meals for your family’s 72 hour/ survival kit. Also, I reviewed Hormel’s line of Complete meals over in this post, and some of those are very good tasting and very convenient to include in a kit like this.
1. Creamy Chicken Taco Soup
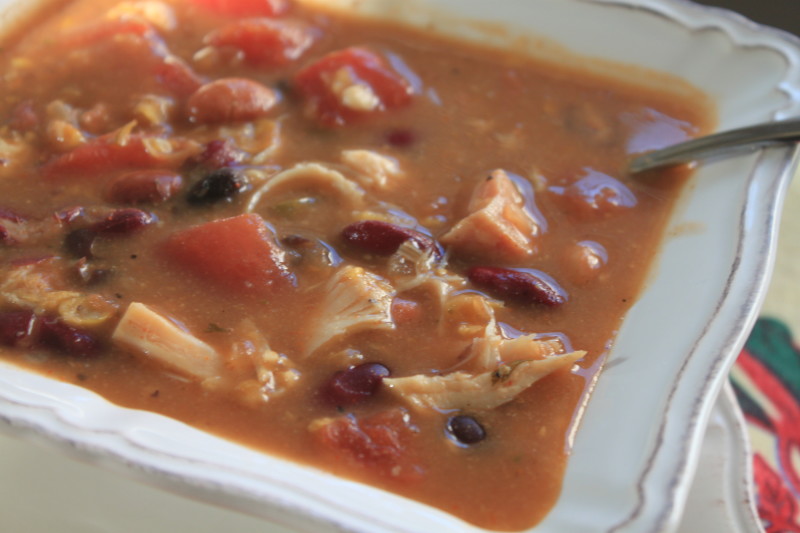
Submitted to us by a reader Sharon Bies, this soup is delicious and ultimately simple to make!
**
1 pint (or 1 can) chicken, undrained
1 can (or 1 cup dried beans cooked) Pinto beans
1 can (or 1 cup dried beans cooked) Kidney beans
1 can (or 1 cup dried beans cooked) Black beans
1 can Creamed Corn
1 can diced tomatoes (petite diced with garlic and onion preferred)
1 can Cream of Chicken soup
1 can (2 cups) water
1 tsp. chicken bullion
2 tsp. ground cumin
1 tsp. garlic powder
1 tsp. flour
1 package Fajita Seasoning
1/2 cup salsa
1 cup “milk” (1 cup water + 1 TBS powdered milk)
Instructions:
Mix together the powdered milk and water and, if preferred, drain the beans. Combine all ingredients together and simmer.
2. Homemade “Instant” Hot Cocoa Mix
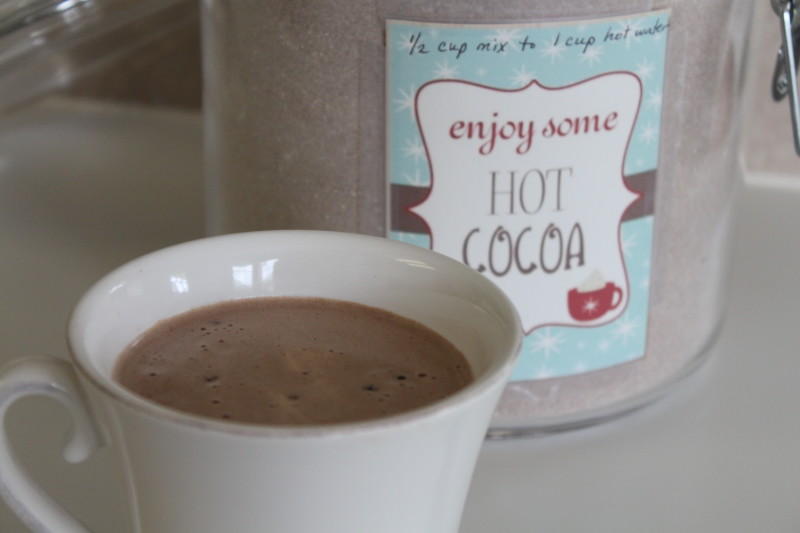
Stir this mix this together and store in gallon sized storage bags. Nothing says comfort and “life is going to be okay” like hot chocolate.
25 oz (11 cups) Instant Powdered Milk (my favorite brand found here)
42 oz container (9 3/4 cups) Nesquik Chocolate Milk Powder
2.5 oz. (3/4 cup) Heavy Cream Powder
1 lb. (3 3/4 cups) Powdered Sugar
Instructions:
Combine 1/2 cup mix with 1 cup hot water.
**
3. Simple Sesame Noodles
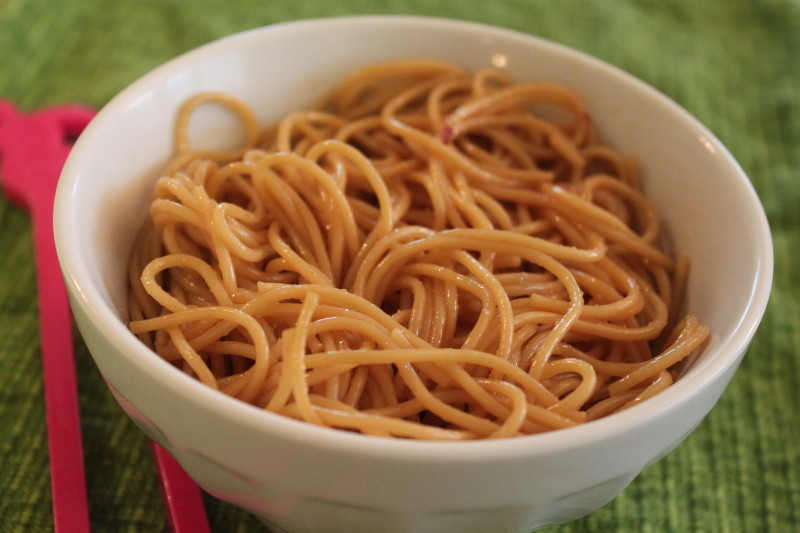
This is the easiest thing to make but my kids (well, all of us) love these noodles.
12 oz. box thin spaghetti noodles, cooked and drained
1/4 cup soy sauce
2 TBS sugar
1 tsp. garlic powder
2 TBS rice vinegar
3 TBS pure sesame oil
1/2 tsp. hot chili oil
4 TBS oil*
(*Note: I leave the oil out all the time and it’s still great. Also, in the case of the rice vinegar, sesame oil and hot chili oil, these would be items I’d grab from my pantry to throw in with the meals. I don’t pre-package these things ahead of time, but a note to myself in my evacuation plan reminds me to grab them. One full 5 oz. bottle of sesame oil makes three recipes worth of this recipe.)
Instructions:
Whisk all ingredients (except noodles) together. Taste and adjust ingredients as needed. Pour sauce over warm noodles and toss to coat.
**
4. Perfect “Just Add Water” Pancake Mix

2 cups all purpose flour
2 cups cake flour
1 cup instant powdered milk
3/4 cup malted milk powder
1/3 cup sugar
2 TBS baking powder
1 tsp baking soda
1 TBS salt
1/2 cup butter powder (*see note)
1/4 cup + 3 TBS whole egg powder
3/4 cup powdered buttermilk
Instructions:
Measure and sift the ingredients (as needed) and mix well. When ready to cook, whisk 2 1/4 cups mix with 1 cup minus 1 TBS water. Prepare your griddle (over medium low heat) by placing a good sized drop of water on it and heating. Once the water drop boils the griddle is hot enough to cook. Spray with nonstick cooking spray and wipe any excess oil from the pan. Cook by 1/4 cup portions about 2 minutes per side. Serve.
**
5. Guilt-Free Macaroni and Cheese
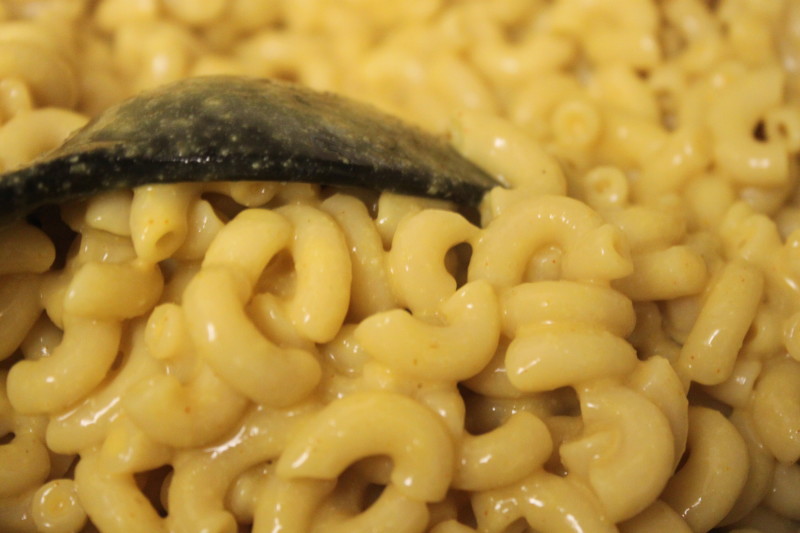
3 1/2 cups macaroni noodles
Seasoning bag #1
3/4 cup nutritional yeast (*see note)
Seasoning bag #2
3 TBS cornstarch (or potato starch)
2 TBS powdered milk
1 1/2 tsp salt (or more to taste)
1 1/4 tsp. onion powder
1/2 tsp. garlic powder
3/4 tsp. dry mustard
1/2 tsp. smoked paprika
1/2 tsp. turmeric
pinch cayenne pepper
***
Add-in’s to the recipe:
2 1/4 cups water (*in an emergency situation of conserving water, 2 1/2 cups could be used to cook the pasta in and 2 1/4 cups of the drained water can be used for the sauce)
1 TBS lemon juice
2 TBS tahini
Instructions:
Put the pasta on to boil, as per packaged directions. While it’s cooking, sift seasoning bag #2 using a fine meshed metal colander. Add nutritional yeast to the sifted dry ingredients. When the noodles have cooked, drain and return the noodles to the pot, reserving a portion of the cooking water if desired to make the sauce. Mix the lemon juice and tahini into the water. Next, add the dry ingredients in and add all to the drained pasta, cooking until thickened.
(Note: Sifting can be eliminated here if needed. Just do the best you can to crumble any lumps of seasoning bag #2 you may see. Also, same as with an above recipe, I’d grab the lemon juice and tahini from the cupboard if I had to leave with the meals in hand.)
**
6. Italian Chicken
(shared here with permission, compliments of “100 Day Pantry” by Jan Jackson)
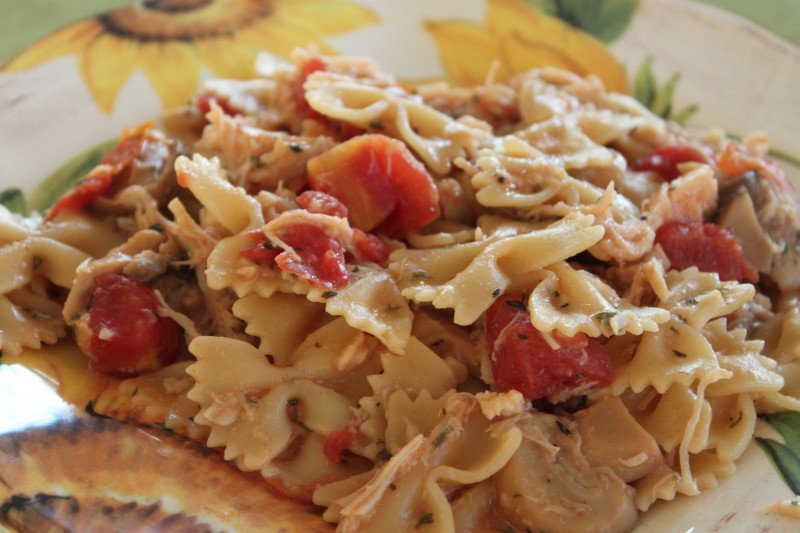
1 (16 oz.) box farfalle pasta
1 (14 oz) can chicken broth
1 (10 – 15 -oz.) can chicken
1 (4 oz.) can mushrooms
1 can diced Italian style tomatoes (*2 cans if you like it more saucy)
1/2 cup Parmesan cheese
1 tsp. Italian seasoning
1 tsp. garlic powder
1 TBS dried parsley
Instructions:
Combine chicken broth with the drained water from the mushrooms, chicken and tomatoes and heat to boiling. Add the pasta and simmer, covered, until pasta is cooked (7-10 min). Add canned items, stir to combine. Add parmesan cheese and spice bag, stir all together and serve.
**
7. Balsamic Tortellini
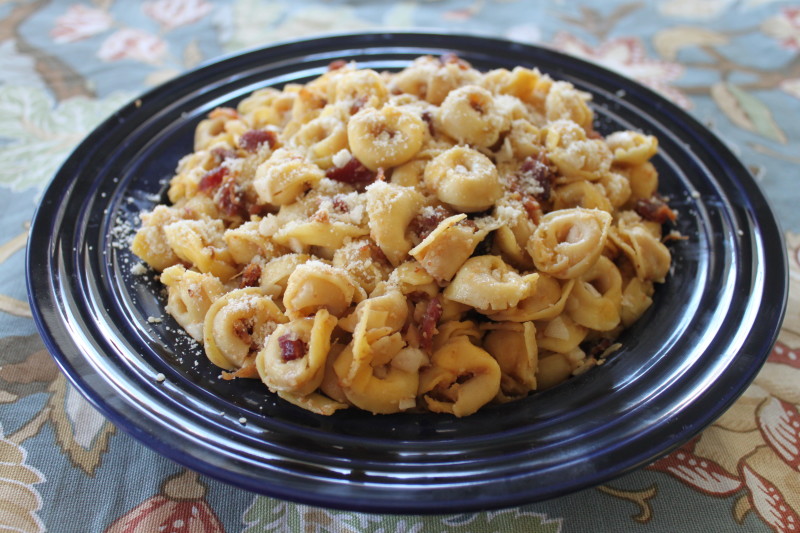
1-2 TBS olive oil
2/3 cup freeze dried onion
1/3 cup water
1 (2.8 oz) jar Hormel Real Bacon Pieces
1/3 cup Parmesan cheese
2 (7 oz.) boxes Cheese-filled Tortellini
2-4 TBS Balsamic Vinegar (to taste)*
Instructions:
Rehydrate onions with water. Meanwhile, bring a pot of water to boil. Add pasta and cook for 8 minutes or until al dente. Drain pasta and add olive oil, onions and bacon. Reserve 2 TBS parmesan cheese (set aside) and add remaining cheese to pasta. Add vinegar, toss all together, and serve (sprinkling reserved parmesan on top).
(*Note: Make yourself a note to grab the olive oil and balsamic vinegar on your way out if planning this for a 72 hour kit.)
8. Basil Tomato Soup
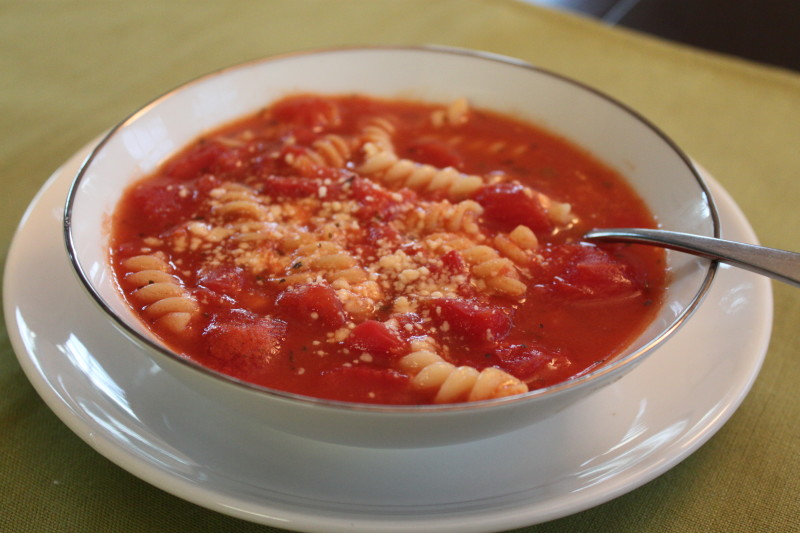
1 (10 oz.) can tomato soup
1 (15 oz.) can diced tomatoes
2 (14 oz.) cans vegetable broth
1 cup corkscrew pasta
1 1/2 tsp. basil
1 TBS. sugar
1/4 cup Parmesan cheese
Instructions:
Combine all ingredients except Parmesan. Simmer until pasta is done. Sprinkle Parmesan on soup before serving.
9. Homemade Fruit and Cream Instant Oatmeal
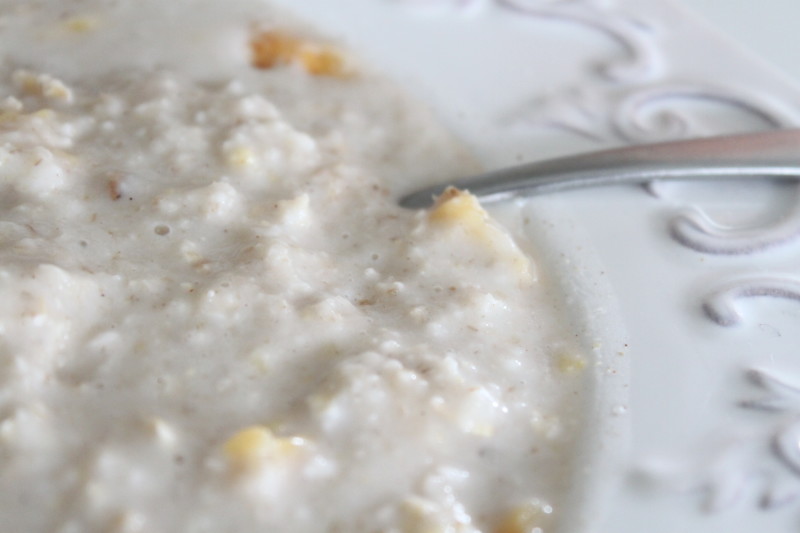
Another great idea for a breakfast option. This recipe takes a bit of time to make but it’s really amazing for it’s taste. Once you have a couple batches done it’s “just add water” and you’ve got an instant “anywhere” breakfast ready!
3 1/2 cups freeze dried fruit of choice
7 cups coarsley ground quick rolled oats
1 recipe bavarian cream sugar
1/4 cup spiced vanilla sugar
3/4 cup sour cream powder
1/2 tsp. salt
***
Bavarian Cream Sugar
1 1/2 cup sugar
1 tsp. LorAnn Princess Cake and Cookie Emulsion
1/2 tsp. Bavarian Cream flavored LorAnn oil
***
Spiced Vanilla Sugar
1 1/2 cup sugar
2 tsp vanilla bean paste, vanilla extract or vanilla powder
1 TBS cinnamon
1/2 tsp ground nutmeg
***
Instructions:
Mix together the ingredients for the Bavarian Cream Sugar. Separately, mix together the ingredients for the Vanilla Spice Sugar. Allow both sugars to dry completely, 2-3 hours. (*A dehydrator set on low, if you have one, will speed this step up.)
Meanwhile, roughly grind the oats with either a food processor or (by hand) using a grinder. Measure out 7 cups of ground oats and place in a large mixing bowl. Chop the freeze dried fruit (if needed) to add to the mixing bowl. Add the salt and sour cream powder. Once the sugar is completely dry, use a potato masher or other utensil to blend each sugar until it’s spoonable. Add the entire recipe of Bavarian Cream Sugar and 1/4 cup of the Vanilla Spice Sugar to the mixing bowl and stir all ingredients well. Transfer to a storage container.
When ready to use, measure 1 cup boiling water added to 1 cup oatmeal mix for one adult serving. Use a smaller 1:1 service for kids, depending on appetite. Allow to sit for 3 minutes and serve.
Plus two more for the road…
Pantry Made Scrambled Eggs

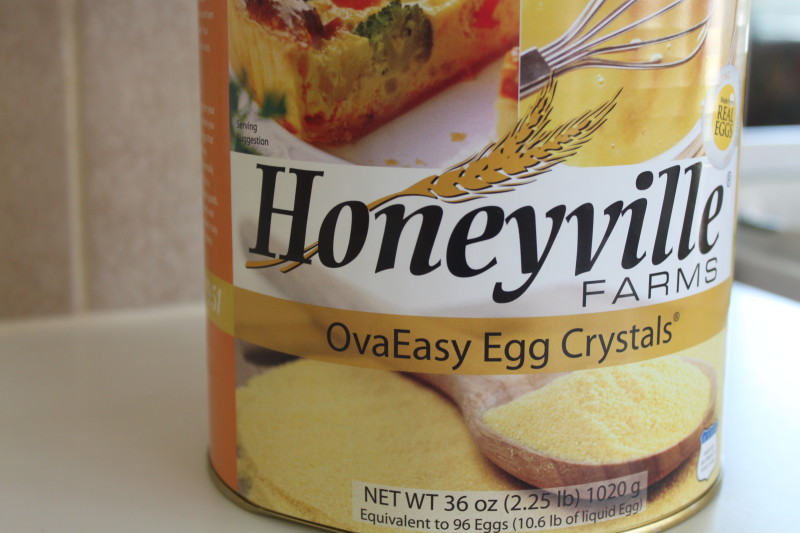
This one’s as simple as buying a can, but truly I’ve never met a shelf stable scrambled egg mix as good as Honeyville’s Ova Easy Egg Crystals!
9 Hamburger Helper Copy Cats made w/ Food Storage
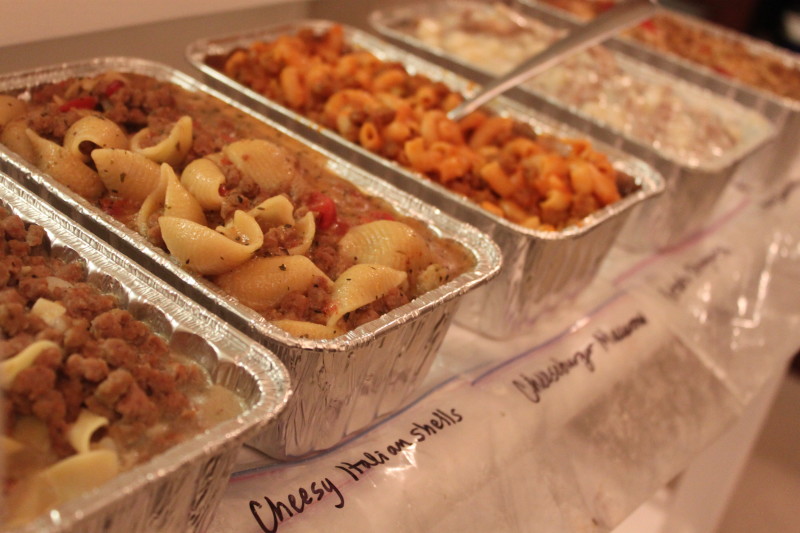
9 recipes worth of “Hamburger Helper” meets food storage ready and waiting for you! These meals aren’t quite as “instant” as the other recipes in this post but they’re still very convenient and deserve a mention. You’ll find everything you need by visiting the link.
Now, go re-make your 72 hour kit with meals you’ll enjoy eating!

I genuinely enjoy examining on this website , it has got fantastic articles.
Very nice and easy meals! In case of survival situation this will be really useful! Thanks for the post! I learned really much! Greetings, Storage North Finchley Ltd.
My pleasure. So glad you found them! 🙂
Thanks and you’re welcome!
[…] Click Here for a post by Megan of My Food Storage Cook Book with several recipes using food storage to get you started making tasty foods, so that you can be ready for an emergency situation… […]
[…] My Food Storage Cookbook – 9 Great Tasting Ultimately Convenient Survival Meals […]
[…] 9 Great-Tasting Ultimately Convenient Survival Meals […]
I found for some reason on some of my pantry meals, I needed a slightly larger box once I added my water to the boxes (Italian Chicken Pasta for instance, wouldn’t fit in a small box!) but my 4th dimensionally thinking husband set it all up like it would be in the box and measured it, and ordered me another set of boxes (I am the only person I know that has boxes of boxes in her garage), to accommodate the bigger meals. This has actually added a third layer to our food storage, and I am so grateful for the pantry meals, because now in between my 3 month supply and my long term supply there is a “middle man” so to speak of great, quick non-mre meals that I now have the full capacity to cook. The challenge has been AMAZING for our family, they love seeing what mom is cooking and getting us going, and wondering how many points mom got for that meal! HaHa! My husband is glad to see me 1)using my food storage (2) learning the alternate/outside methods of cooking, (3) and seeing that it really is edible and enjoyable to eat. While I used food storage at least 3 times a week before, this has taken me to a whole new level. But I am going to be honest, I am glad garden time is going to be coming on the heels of the end of the challenge, because we will be ready for the fresh veggies!
Thanks so much, Amanda for sharing your experience. It’s so great to hear the strides you’ve made and the confidence you’ve gained! — it’s wonderful!! And we may be needing your husband to be our poster child for the other husbands out there 🙂 Man, he grinds wheat and figures out your containers for you?!
Yea, He is AMAZING. I feel pretty blessed that I stole him away!
I’m also planning to make the Creamy Chicken Taco Soup, the Italian Chicken, the Tomato Basil Soup, and a food storage pancake recipe for this week.
That’s great, welcome! I’m excited to have you join!
Hi, I’m entering your contest and commenting on the last week’s winners recipes. I’ve got four little girls who love crackers, so we are going to try out the Ritz Crackers recipe. So excited!
Welcome Brittney, so glad you are entering the contest. Looking forward to seeing all you do. I also have 3 kiddos and they have been brave sports in trying all the new recipes I have made. Try the homemade Ricotta cheese too, it’s great with the ritz crackers!
I love this idea and the recipes look good. I am going to make the taco soup, tomato soup, pancake mix and Italian chicken. I have been collecting recipes to put in “bags” or jars and appreciate this post!
Thanks, Arlene. 🙂
I had thought that I had a good start on preparing and storing my food storage but after entering your contest and truly beginning to cook with only food storage I have realized that there are things I need to add and delete. I have been keeping a running tab of all recipes and rated them as to how the family(5) liked and ate them. I must say it only took a couple of weeks before I noticed how much I was missing fresh fruit and veggies! I took the time last night to read this article and it was very enlightening in several aspects. While I hope that I never see such a disaster it is articles like this that can educate me and help me survive better prepared. Thanks to the author and you for passing it on. Question: For storing your 72 hr. kits are they one meal or several to a box? I am thinking that I would like to store several or a days worth of meals in each. Do you seal the spices or just Ziploc them to add? I am so glad I found your blog and have enjoyed following your articles and am looking forward to what is to come.
Thank you, Paula!! I’m so glad you found me too! You’ve been an inspiration for the way you’ve taken control and jumped in like you have.
For the meals in the boxes, they’re one meal per box. They’re labeled with the recipe’s name and (for me) I just keep them in my pantry to grab as I would a box of Pasta Roni. And yes, the spices are just in ziplocs, no need to do anything fancy with them so long as the meals are rotated regularly.
This post is very inspirational! We go through our 72 hour kits twice a year and use and replenish. This time I am going to use some of these ideas! Thank you Megan!
Thanks Janel! I’m so glad!
Megan, I really enjoyed the gentleman’s article. You have inspired me to get together some pantry meals. I have a few in Mylar bags, but these look good. One of the things I thought interesting about his article was the safety aspect in regards to others possibly coming to take your stuff. That is one thing I would not be prepared to deal with. Thanks for always keeping me thinking ahead.
So glad! Me too. I was grateful to have had both of those experiences volunteered to be able to read. There were many things I hadn’t really considered, but mostly I was struck that (knowing myself) the emotions in possibly seeing the things that surround a situation like that would be a much bigger deal than I’d previously thought.